Satisfying Tuna Rice Ball Snack
There are some recipes that just solve a problem. For me, that problem was the eternal question of what to pack for lunch or what to grab for a satisfying afternoon snack. That’s where this fantastic Tuna Rice Ball recipe came into my life. It’s more than just a simple tuna snack; it’s a wonderfully portable, flavour-packed parcel of goodness that feels both wholesome and a little bit special. They are inspired by Japanese onigiri, which are a staple in lunchboxes across Japan for a very good reason. I used to struggle with getting the rice to hold its shape until I discovered the technique I’m sharing today.
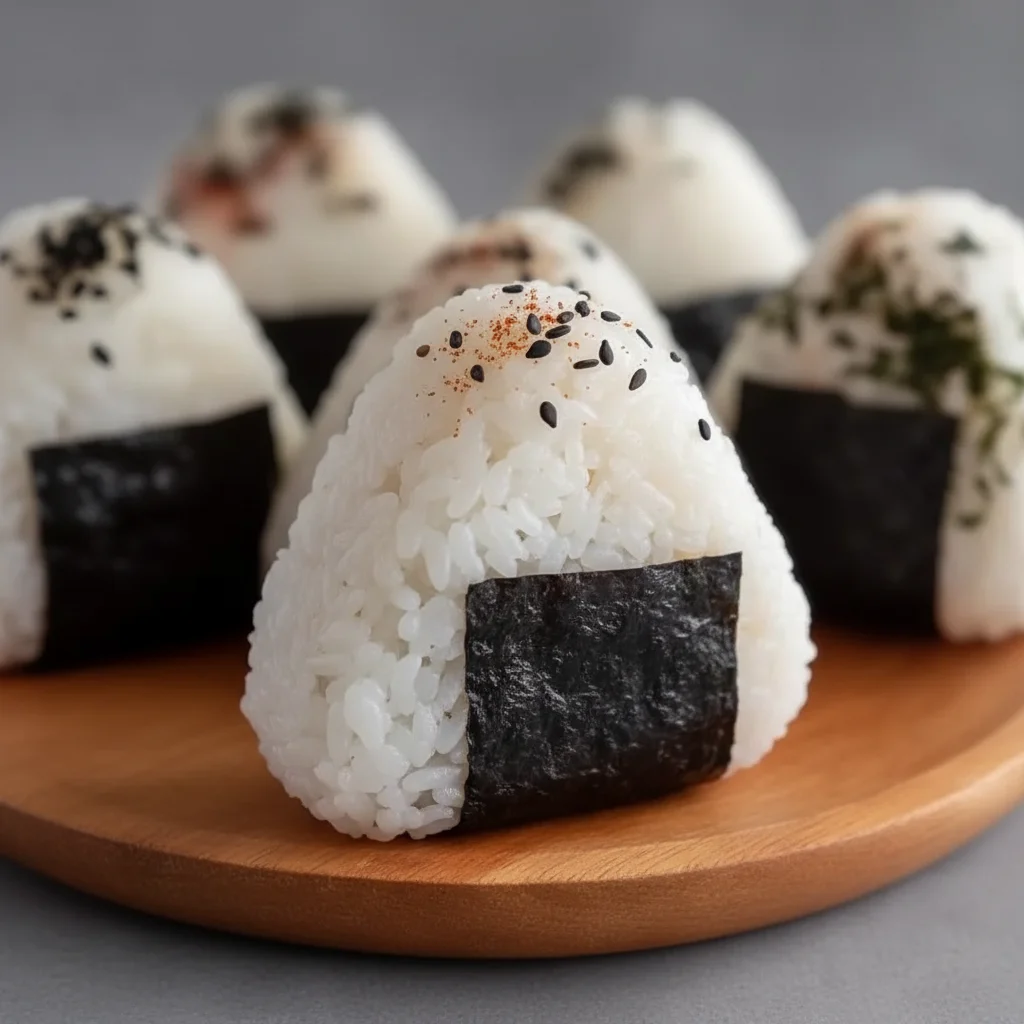
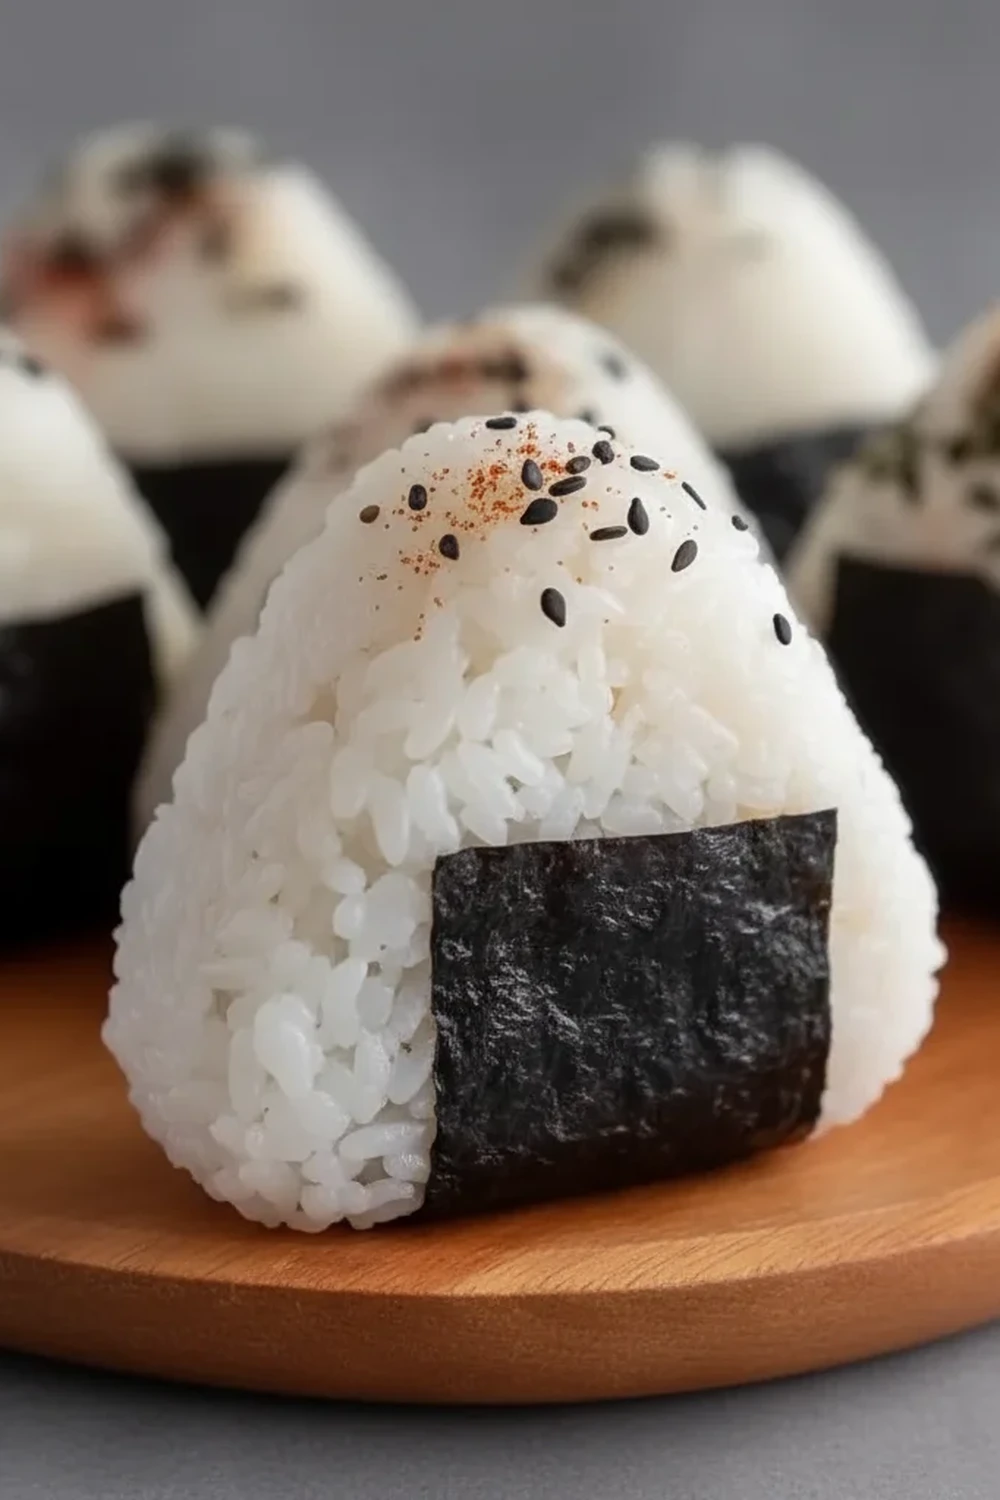
What we are making here is a savoury, slightly tangy rice ball with a creamy, umami-rich tuna and mayonnaise filling at its heart. The magic is in the texture combination: the soft, seasoned sushi rice gives way to the luscious tuna mix inside, with a little crunch from spring onions. It’s a complete mouthful that satisfies on every level. We then roll them in toasted sesame seeds or Japanese furikake seasoning, which adds an extra layer of nutty flavour and a delightful texture to the outside.
This recipe works beautifully for so many situations. It’s ideal for packed lunches for school or the office, brilliant for picnics in the park, and a great protein-rich rice snack after a workout. Because they are best served at room temperature, you don’t need to worry about reheating. Everyone in my family seems to love these, and they disappear almost as fast as I can make them. Let’s get into how you can make this brilliant Tuna Rice recipe a staple in your kitchen too.
Recipe Overview
This Tuna Rice Ball recipe creates savoury, satisfying snacks with a creamy tuna and mayonnaise filling encased in seasoned sushi rice. After testing this recipe five times, I finally got the rice-to-filling ratio and seasoning just right for the perfect bite. The flavour is a gentle balance of tangy rice, savoury tuna, creamy mayonnaise, and a hint of sharpness from the spring onions. Expect a soft texture with a slight chew from the rice and a lovely nutty crunch from the sesame seed coating.
- Prep Time: 20 minutes
- Cook Time: 20 minutes (for the rice)
- Total Time: 40 minutes
- Servings: Makes 10-12 rice balls
- Difficulty: Easy
Why You’ll Love This Tuna Rice Ball
- Genuinely Delicious Flavour: The combination of seasoned sushi rice, which has a subtle sweet and vinegary tang, with the rich, creamy Kewpie mayo and savoury tuna filling is just superb. It’s a well-rounded and deeply satisfying taste.
- Ready in Under 45 Minutes: From start to finish, this entire Tuna Rice recipe comes together in about 40 minutes, with most of that time being passive cooking time for the rice. It’s a very manageable recipe for a weeknight.
- Flexible Recipe: You can easily customise the filling. Add a dash of sriracha for heat, mix in some sweetcorn for extra texture and sweetness, or swap the sesame seed coating for finely chopped nori (seaweed).
- Great for On-the-Go Meals: These are a game-changer for packed lunches and picnics. They are self-contained, don’t require cutlery, and hold up brilliantly for several hours at room temperature.
- Family Tested: My kids, who can be a bit particular, absolutely adore these. They call them “tuna surprises” and it’s one of the few lunchbox items that always comes back completely eaten.
Ingredients You’ll Need
The key to a great rice ball is using the right kind of rice. You absolutely need to use Japanese-style short-grain or sushi rice. It has the high starch content necessary to become sticky and hold its shape. I always reach for a trusted brand like Nishiki or Yutaka. Using long-grain rice like basmati just won’t work here; the balls will fall apart.
- 300g short-grain sushi rice
- 400ml cold water, for cooking the rice
- 50ml rice vinegar
- 2 tbsp caster sugar
- 1 tsp salt
- For the Tuna Filling:
- 185g tin of tuna in spring water, drained very well
- 4 tbsp Japanese mayonnaise (Kewpie brand is best)
- 1 tbsp light soy sauce
- 2 spring onions, finely sliced
- 1/2 tsp toasted sesame oil
- For Coating & Assembly:
- Toasted sesame seeds (a mix of black and white looks lovely)
- A small bowl of salted water, for your hands
Sophia’s Tip: Don’t skip the step of rinsing your sushi rice. Rinsing it in cold water until the water runs clear removes the excess surface starch. This is crucial for achieving fluffy, distinct grains that are still perfectly sticky, rather than a mushy paste.
How to Make Tuna Rice Balls
The process is straightforward. We’ll start by cooking and seasoning the rice, then prepare the simple tuna filling while the rice cools slightly. The final step, and the most fun, is assembling our little rice snacks. It’s a satisfying process that yields fantastic results.
- Cook the Sushi Rice: First, rinse the sushi rice in a sieve under cold running water until the water runs clear. Add the rinsed rice and 400ml of cold water to a medium saucepan. Bring to a boil, then immediately reduce the heat to the lowest setting, cover with a tight-fitting lid, and simmer for 15 minutes. Do not lift the lid during this time. After 15 minutes, remove from the heat and let it stand, still covered, for another 10 minutes. For a more detailed guide on perfecting this step, Serious Eats has a great tutorial.
- Prepare the Sushi Vinegar: While the rice is resting, gently heat the rice vinegar, caster sugar, and salt in a small pan over a low heat. Stir until the sugar and salt have completely dissolved. Do not let it boil. Set aside.
- Season the Rice: Transfer the cooked rice to a large, non-metallic bowl (a wooden or glass one is ideal). Pour the sushi vinegar mixture evenly over the hot rice. Using a spatula or rice paddle, gently ‘cut’ and fold the vinegar through the rice. Try not to stir or mash the grains. Allow the rice to cool until it’s just warm enough to handle – about 15-20 minutes.
- Make the Tuna Filling: In a separate bowl, flake the well-drained tuna with a fork. Add the Japanese mayonnaise, soy sauce, finely sliced spring onions, and toasted sesame oil. Mix everything together until it’s well combined and creamy.
- Shape the Balls: Prepare a small bowl of salted water to dip your hands in – this is the secret to stopping the rice from sticking to you! Take a handful of the seasoned rice (about 60-70g) and flatten it into a circle in the palm of your hand. I find that creating a small indent in the middle helps with the next step.
- Fill and Seal: Place a heaped teaspoon of the tuna filling into the indent in the rice. Bring the edges of the rice up and around the filling, enclosing it completely. Gently cup the rice in your hands and press firmly, shaping it into a tight ball or a traditional triangular onigiri shape.
- Coat and Serve: Roll the finished Tuna Rice Ball in a shallow dish filled with toasted sesame seeds until it’s lightly coated. Repeat the process with the remaining rice and filling. They can be enjoyed immediately or stored for later.
Tips From My Kitchen
- Temperature Control: The rice needs to be at the right temperature for shaping. If it’s too hot, it will be sticky and hard to handle. If it’s too cold, it won’t hold together as well. ‘Slightly warmer than body temperature’ is the sweet spot you’re aiming for.
- The Secret Step: Don’t underestimate the power of the salted water for your hands. I learned that this not only prevents the rice from turning your hands into a sticky mess but also adds a final touch of seasoning to the outside of each rice ball. Re-wet your hands between shaping each one.
- Make-Ahead: You can prepare the tuna filling and cook the rice a day in advance. Store the filling in an airtight container in the fridge. For the rice, let it cool completely and store it covered in the fridge. You may need to gently microwave it for 30 seconds to make it pliable enough for shaping.
- Storage: These rice balls are best eaten on the day they are made. However, you can store them in an airtight container in the fridge for up to 2 days. Be aware that the rice will firm up when chilled. Let them sit at room temperature for 30 minutes before eating to soften up a little.
Delicious Variations to Try
Once you’ve mastered the basic Tuna Rice Ball, it’s easy to get creative. This recipe serves as a brilliant base for all sorts of flavours. For another great portable snack idea, you might also like my Bacon Brown Sugar Chicken Tenders.
- Spicy Tuna Version: Add 1-2 teaspoons of sriracha or gochujang paste to the tuna and mayonnaise mixture for a welcome kick of heat. A little finely diced red chilli also works well.
- Vegetarian Option: Swap the tuna for a filling made from mashed chickpeas mixed with mayonnaise, or try a savoury shiitake mushroom filling, finely diced and sautéed with soy sauce.
- Different Protein: This recipe is fantastic with tinned salmon instead of tuna. You could also use shredded cooked chicken, mixed with mayonnaise and perhaps some sweetcorn for a different kind of rice snack.
What to Serve With Tuna Rice Balls
These are a complete snack on their own, but they also form part of a lovely light meal or bento box lunch. They are a staple in Japanese cuisine, often known as Onigiri.
- Edamame Beans: A small bowl of steamed and lightly salted edamame beans provides a lovely colour and texture contrast.
- Miso Soup: For a more substantial meal, a warming bowl of miso soup alongside a couple of rice balls is deeply comforting and satisfying.
- Japanese Pickles (Tsukemono): Some pickled ginger or daikon radish offers a sharp, tangy counterpoint that cleanses the palate between bites of the creamy rice ball.
Frequently Asked Questions
Tuna Rice Ball
Ingredients
Method
- Cook the Sushi Rice: First, rinse the sushi rice in a sieve under cold running water until the water runs clear. Add the rinsed rice and 400ml of cold water to a medium saucepan. Bring to a boil, then immediately reduce the heat to the lowest setting, cover with a tight-fitting lid, and simmer for 15 minutes. Do not lift the lid during this time. After 15 minutes, remove from the heat and let it stand, still covered, for another 10 minutes. For a more detailed guide on perfecting this step, Serious Eats has a great tutorial.
- Prepare the Sushi Vinegar: While the rice is resting, gently heat the rice vinegar, caster sugar, and salt in a small pan over a low heat. Stir until the sugar and salt have completely dissolved. Do not let it boil. Set aside.
- Season the Rice: Transfer the cooked rice to a large, non-metallic bowl (a wooden or glass one is ideal). Pour the sushi vinegar mixture evenly over the hot rice. Using a spatula or rice paddle, gently 'cut' and fold the vinegar through the rice. Try not to stir or mash the grains. Allow the rice to cool until it's just warm enough to handle – about 15-20 minutes.
- Make the Tuna Filling: In a separate bowl, flake the well-drained tuna with a fork. Add the Japanese mayonnaise, soy sauce, finely sliced spring onions, and toasted sesame oil. Mix everything together until it's well combined and creamy.
- Shape the Balls: Prepare a small bowl of salted water to dip your hands in – this is the secret to stopping the rice from sticking to you! Take a handful of the seasoned rice (about 60-70g) and flatten it into a circle in the palm of your hand. I find that creating a small indent in the middle helps with the next step.
- Fill and Seal: Place a heaped teaspoon of the tuna filling into the indent in the rice. Bring the edges of the rice up and around the filling, enclosing it completely. Gently cup the rice in your hands and press firmly, shaping it into a tight ball or a traditional triangular onigiri shape.
- Coat and Serve: Roll the finished Tuna Rice Ball in a shallow dish filled with toasted sesame seeds until it's lightly coated. Repeat the process with the remaining rice and filling. They can be enjoyed immediately or stored for later.
Notes
I really hope you give this Tuna Rice Ball recipe a go. It’s such a rewarding and practical recipe to have in your collection, and it makes lunchtime so much more interesting. And if you’re looking for a sweet finish to your meal, my Biscoff Truffles are always a hit. I’d love to hear how you get on, so please drop a comment below and let me know if you tried any fun variations! Happy cooking, Sophia.