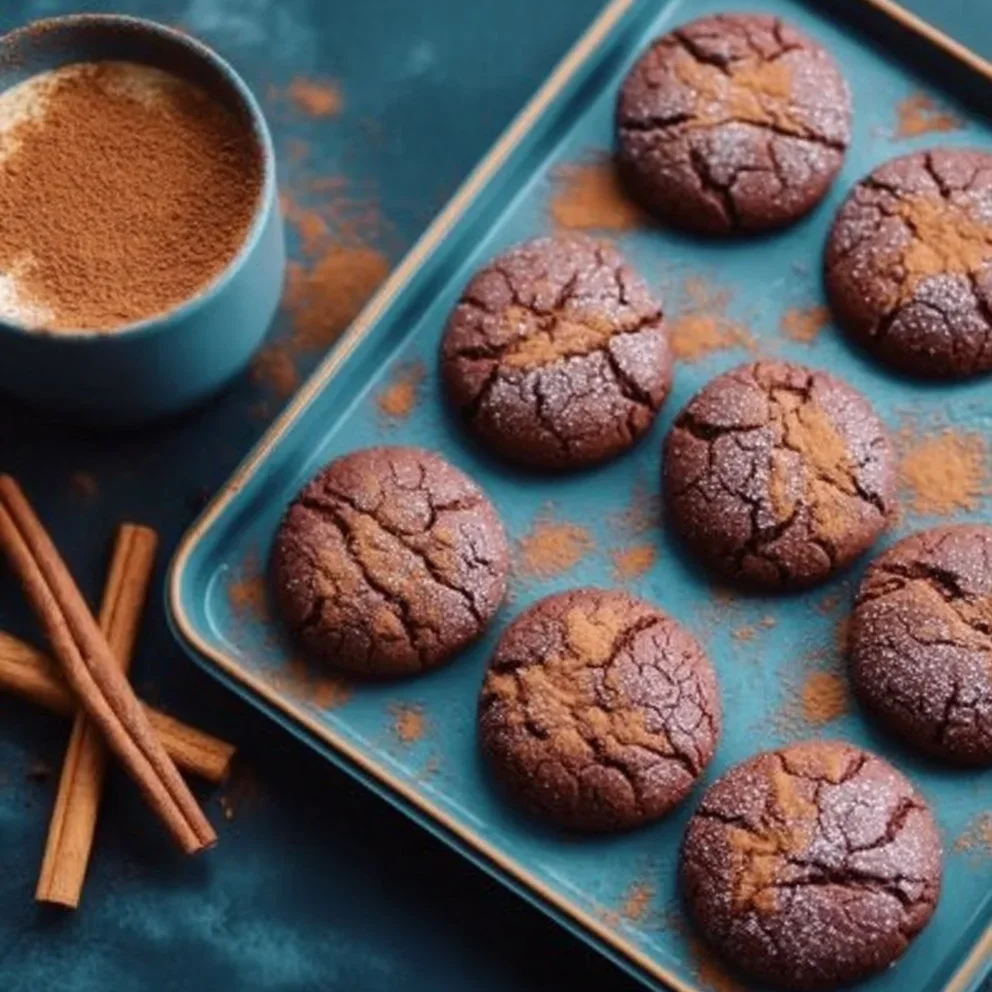
Spiced Mexican Hot Chocolate Cookies
There’s a certain magic in the combination of deep, rich chocolate and warming spices. It reminds me of the first time I tried authentic Mexican hot chocolate on a trip abroad – it was nothing like the sweet, one-note drink I knew. It was complex, earthy, and had a surprising little kick of heat that lingered beautifully. I’ve been chasing that delicious memory in my kitchen ever since, and these Mexican Hot Chocolate Cookies are the wonderful result of that pursuit.
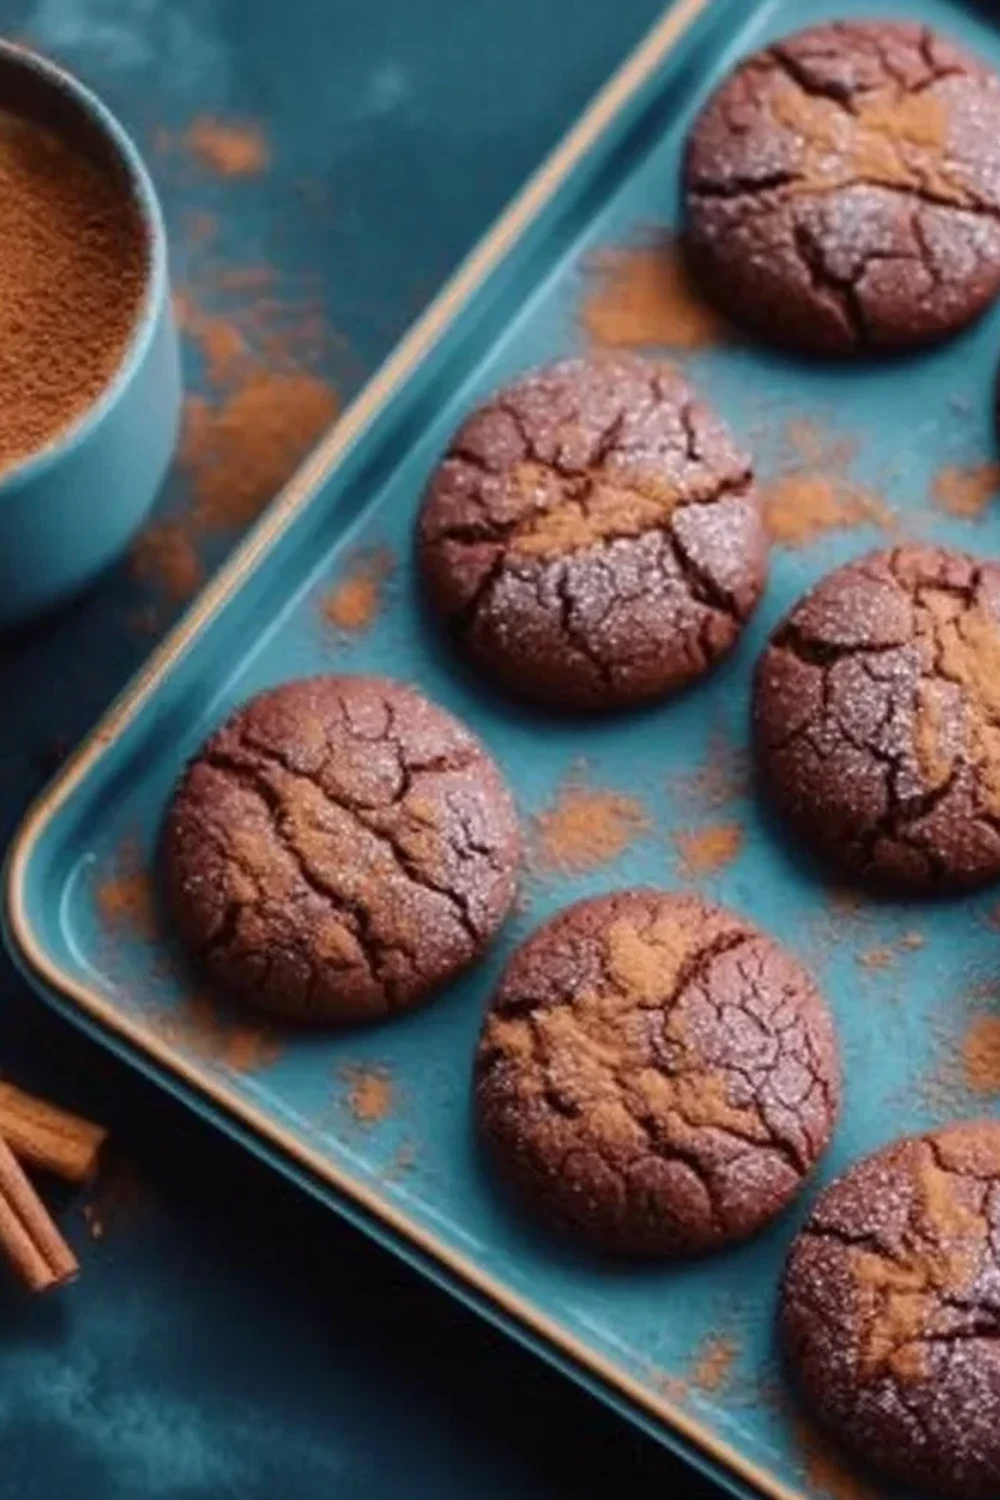
These aren’t just any chocolate cookies. We’re talking about a profoundly fudgy centre with slightly crisp edges, a crackled top dusted with cinnamon sugar, and that signature trio of spices: cinnamon, nutmeg, and a whisper of cayenne pepper. The cayenne doesn’t make them spicy-hot; instead, it awakens the other flavours and leaves a gentle, pleasant warmth at the back of your throat, just like the traditional drink. I used to struggle with getting my cookies to have the perfect chewy texture until I discovered the chilling technique in this recipe – it truly is a game-changer.
This recipe is for those moments when you want something a little more grown-up and interesting than a standard chocolate chip cookie. They work beautifully for an afternoon treat with a hot cup of coffee, and they always get compliments when I take them to gatherings. They have that special something that makes people pause after the first bite and ask, “What is in here? It’s amazing!”
Recipe Overview
These Mexican Hot Chocolate Cookies deliver a rich, fudgy texture with a beautifully balanced blend of warm spices. The process is straightforward, but the crucial step of chilling the dough ensures they bake up thick and chewy rather than spreading too thin. After a few test batches, I found that a scant quarter-teaspoon of cayenne provides the perfect, subtle warmth without overwhelming the deep chocolate flavour.
- Prep Time: 20 minutes
- Chill Time: 1 hour
- Cook Time: 12 minutes
- Total Time: 1 hour 32 minutes
- Servings: 24 cookies
- Difficulty: Medium
Why You’ll Love These Mexican Hot Chocolate Cookies
- A Genuine Flavour Journey: The experience starts with intense, dark cocoa, followed by the familiar comfort of cinnamon, and finishes with a gentle, surprising warmth from the cayenne pepper that makes these spiced cookies so memorable.
- Ready in Under 90 Minutes: While the dough needs an hour to chill, the active preparation time is only about 20 minutes, making this a very manageable bake for a weekend afternoon.
- A Truly Flexible Recipe: You are in complete control of the spice level. If you prefer a milder cookie, reduce the cayenne to a small pinch. For those who like a more pronounced heat, feel free to increase it slightly.
- Ideal for Cosy Occasions: These cookies are wonderful for autumn evenings, holiday gatherings, or simply when you want a sophisticated treat to go with your afternoon tea or coffee.
- Family Tested and Approved: These have become a staple in my house. My husband, who’s usually picky about spiced desserts, asked for seconds the first time I made them!
Ingredients You’ll Need
For the best results, use good quality ingredients, especially the cocoa powder. I prefer using a Dutch-processed cocoa powder like Green & Black’s as it gives a deeper, less bitter chocolate flavour. Ensure your butter and eggs are at room temperature before you begin.
- 250g plain flour
- 65g unsweetened cocoa powder
- 1 tsp bicarbonate of soda
- 1 ½ tsp ground cinnamon, divided
- ½ tsp ground nutmeg
- ¼ tsp cayenne pepper (or to taste)
- ½ tsp fine sea salt
- 225g unsalted butter, softened to room temperature
- 150g light brown soft sugar
- 100g caster sugar
- 2 large free-range eggs, at room temperature
- 1 tsp pure vanilla extract
- For the Topping:
- 50g caster sugar
Sara’s Tip: Don’t be tempted to skip the chilling step! Chilling the dough solidifies the butter, which prevents the cookies from spreading too much in the oven. This is the key to achieving that desirable thick, chewy texture.
How to Make Mexican Hot Chocolate Cookies
This process is all about building layers of flavour. We’ll start by combining our dry ingredients to ensure the spices are evenly mixed, then create a rich, creamy base for our cookie dough.
- Combine Dry Ingredients: In a medium bowl, whisk together the plain flour, cocoa powder, bicarbonate of soda, 1 teaspoon of the ground cinnamon, nutmeg, cayenne pepper, and salt. Whisking is important as it distributes the spices and leavening agent evenly. Set aside.
- Cream Butter and Sugars: In the bowl of a stand mixer fitted with the paddle attachment, or using a hand mixer, beat the softened unsalted butter, light brown sugar, and 100g of caster sugar on medium-high speed for about 3-4 minutes. The mixture should become pale, light, and fluffy. For a deep dive into why this step is so important, Serious Eats has a great guide on the science of creaming butter and sugar.
- Add Eggs and Vanilla: Add the eggs one at a time, beating well after each addition until fully incorporated. Scrape down the sides of the bowl as needed. Beat in the vanilla extract.
- Combine Wet and Dry: Reduce the mixer speed to low and gradually add the flour mixture. Mix only until the last streaks of flour have disappeared. Be careful not to overmix, as this can result in tough cookies.
- Chill the Dough: Cover the bowl with cling film and refrigerate for at least 1 hour, or up to 3 days. What works best for me is chilling it for a full 90 minutes for the firmest dough and deepest flavour.
- Prepare for Baking: When you’re ready to bake, preheat your oven to 180°C (160°C fan) and line two large baking trays with parchment paper.
- Make the Topping: In a small, shallow bowl, mix together the 50g of caster sugar and the remaining ½ teaspoon of ground cinnamon.
- Shape the Cookies: Scoop out portions of the chilled dough (about 1.5 tablespoons each) and roll them into smooth balls. Roll each ball in the cinnamon-sugar mixture until it’s evenly coated.
- Bake to Perfection: Place the dough balls on the prepared baking trays, leaving about 5cm (2 inches) of space between them to allow for spreading. Bake for 10-12 minutes. The edges should be set, but the centres will still look slightly soft and underdone. This is the secret to a fudgy middle.
- Cool Down: Let the cookies cool on the baking trays for 5 minutes before transferring them to a wire rack to cool completely. They will firm up as they cool.
Tips From My Kitchen
- Temperature is Key: Ensure your oven is fully preheated before the first tray goes in. An oven that’s too cool will cause the cookies to spread out and become thin and crispy, while one that’s too hot can burn the bottoms before the centre is cooked.
- The Secret Step: I learned that letting the cookies cool on the hot baking tray for 5 minutes after they come out of the oven is essential. This “residual heat cooking” gently finishes the centre without over-baking it, resulting in that perfect fudgy texture.
- Make-Ahead Magic: The cookie dough can be made and refrigerated for up to 3 days. You can also roll the dough into balls, freeze them on a tray, and then transfer them to a freezer bag for up to 3 months. Bake straight from frozen, adding an extra 2-3 minutes to the cooking time.
- Proper Storage: Store the cooled cookies in an airtight container at room temperature. They will stay fresh and chewy for up to 5 days. If they lose a little softness, a few seconds in the microwave brings them right back to life.
Equipment You’ll Need
You don’t need any highly specialised gear for this recipe, just some standard baking equipment.
- Stand mixer with paddle attachment or a hand mixer
- Large baking trays
- Parchment paper
- Wire cooling rack
- Medium and large mixing bowls
Common Mistakes to Avoid
- Overcrowding the Baking Tray: It can be tempting to squeeze as many cookies as possible onto one tray, but this is a mistake. It lowers the temperature around each cookie and creates steam, causing them to run into each other and bake unevenly. Always leave at least 5cm of space around each dough ball.
- Using Melted or Cold Butter: The temperature of your butter matters. If it’s melted, your cookies will be greasy and flat. If it’s too cold, it won’t cream properly with the sugar. “Softened to room temperature” means you can press a finger into it and leave an indent without it feeling greasy.
- Skipping the Chill Time: I know it’s hard to wait, but chilling is the most important step for texture. It allows the flour to fully hydrate and the butter to re-solidify, which means less spread and a more concentrated, delicious flavour.
What to Serve With Mexican Hot Chocolate Cookies
These spiced cookies are wonderfully self-sufficient, but they also pair beautifully with a few simple accompaniments that enhance their unique flavour profile.
- A Glass of Cold Milk: The classic cookie companion. The coolness of the milk is a lovely contrast to the gentle warmth of the cayenne pepper.
- Freshly Brewed Coffee: A dark roast or an Americano cuts through the richness of the chocolate and complements the earthy notes of the cinnamon and nutmeg.
- A Scoop of Vanilla Bean Ice Cream: For a more decadent dessert, serve a slightly warm cookie alongside a scoop of high-quality vanilla ice cream. The combination of warm, fudgy cookie and cold, creamy ice cream is simply divine. For a different but equally delicious dessert experience, you could also try my Peach Crumb Cheesecake.
Frequently Asked Questions
Mexican Hot Chocolate Cookies
Ingredients
Method
- Combine Dry Ingredients: In a medium bowl, whisk together the plain flour, cocoa powder, bicarbonate of soda, 1 teaspoon of the ground cinnamon, nutmeg, cayenne pepper, and salt. Whisking is important as it distributes the spices and leavening agent evenly. Set aside.
- Cream Butter and Sugars: In the bowl of a stand mixer fitted with the paddle attachment, or using a hand mixer, beat the softened unsalted butter, light brown sugar, and 100g of caster sugar on medium-high speed for about 3-4 minutes. The mixture should become pale, light, and fluffy. For a deep dive into why this step is so important, Serious Eats has a great guide on the science of creaming butter and sugar.
- Add Eggs and Vanilla: Add the eggs one at a time, beating well after each addition until fully incorporated. Scrape down the sides of the bowl as needed. Beat in the vanilla extract.
- Combine Wet and Dry: Reduce the mixer speed to low and gradually add the flour mixture. Mix only until the last streaks of flour have disappeared. Be careful not to overmix, as this can result in tough cookies.
- Chill the Dough: Cover the bowl with cling film and refrigerate for at least 1 hour, or up to 3 days. What works best for me is chilling it for a full 90 minutes for the firmest dough and deepest flavour.
- Prepare for Baking: When you're ready to bake, preheat your oven to 180°C (160°C fan) and line two large baking trays with parchment paper.
- Make the Topping: In a small, shallow bowl, mix together the 50g of caster sugar and the remaining ½ teaspoon of ground cinnamon.
- Shape the Cookies: Scoop out portions of the chilled dough (about 1.5 tablespoons each) and roll them into smooth balls. Roll each ball in the cinnamon-sugar mixture until it's evenly coated.
- Bake to Perfection: Place the dough balls on the prepared baking trays, leaving about 5cm (2 inches) of space between them to allow for spreading. Bake for 10-12 minutes. The edges should be set, but the centres will still look slightly soft and underdone. This is the secret to a fudgy middle.
- Cool Down: Let the cookies cool on the baking trays for 5 minutes before transferring them to a wire rack to cool completely. They will firm up as they cool.
Notes
I really hope you give these Mexican Hot Chocolate Cookies a try. They are such a joy to bake and even more of a joy to eat, bringing a little bit of warmth and spice to any day. If you do make them, I would love to hear how they turned out for you. Please leave a comment and a rating below to let me know what you think!
Happy baking,
Sophia