Festive Christmas Peppermint Pie
There’s a certain magic in the air during the festive season, isn’t there? For me, that magic is captured not just in twinkling lights and classic carols, but in the distinct aromas and tastes of Christmas. One of the most evocative is the cool, crisp scent of peppermint. This Christmas Peppermint Pie recipe bottles that feeling, transforming it into a dessert that’s become a cornerstone of our family celebrations. It’s a spectacular no-bake treat that looks impressive but is wonderfully straightforward to assemble.
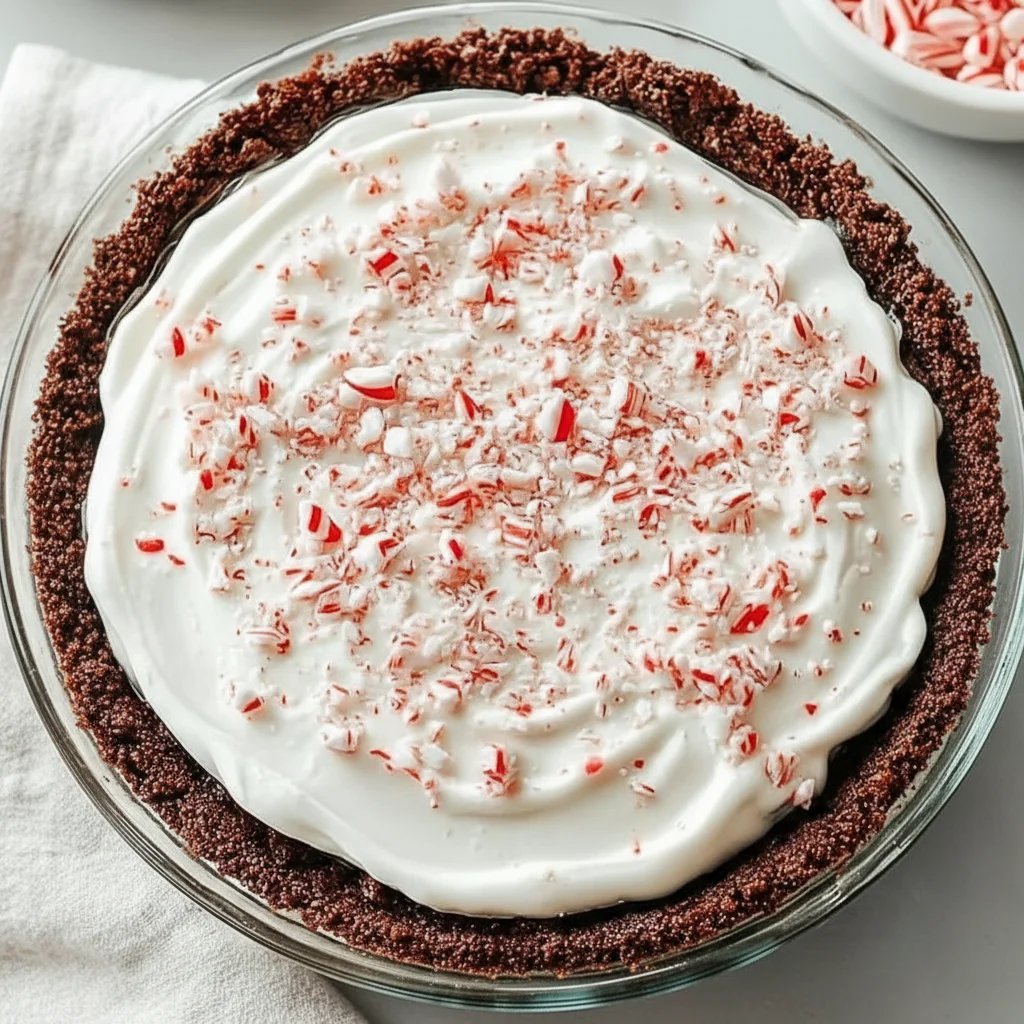
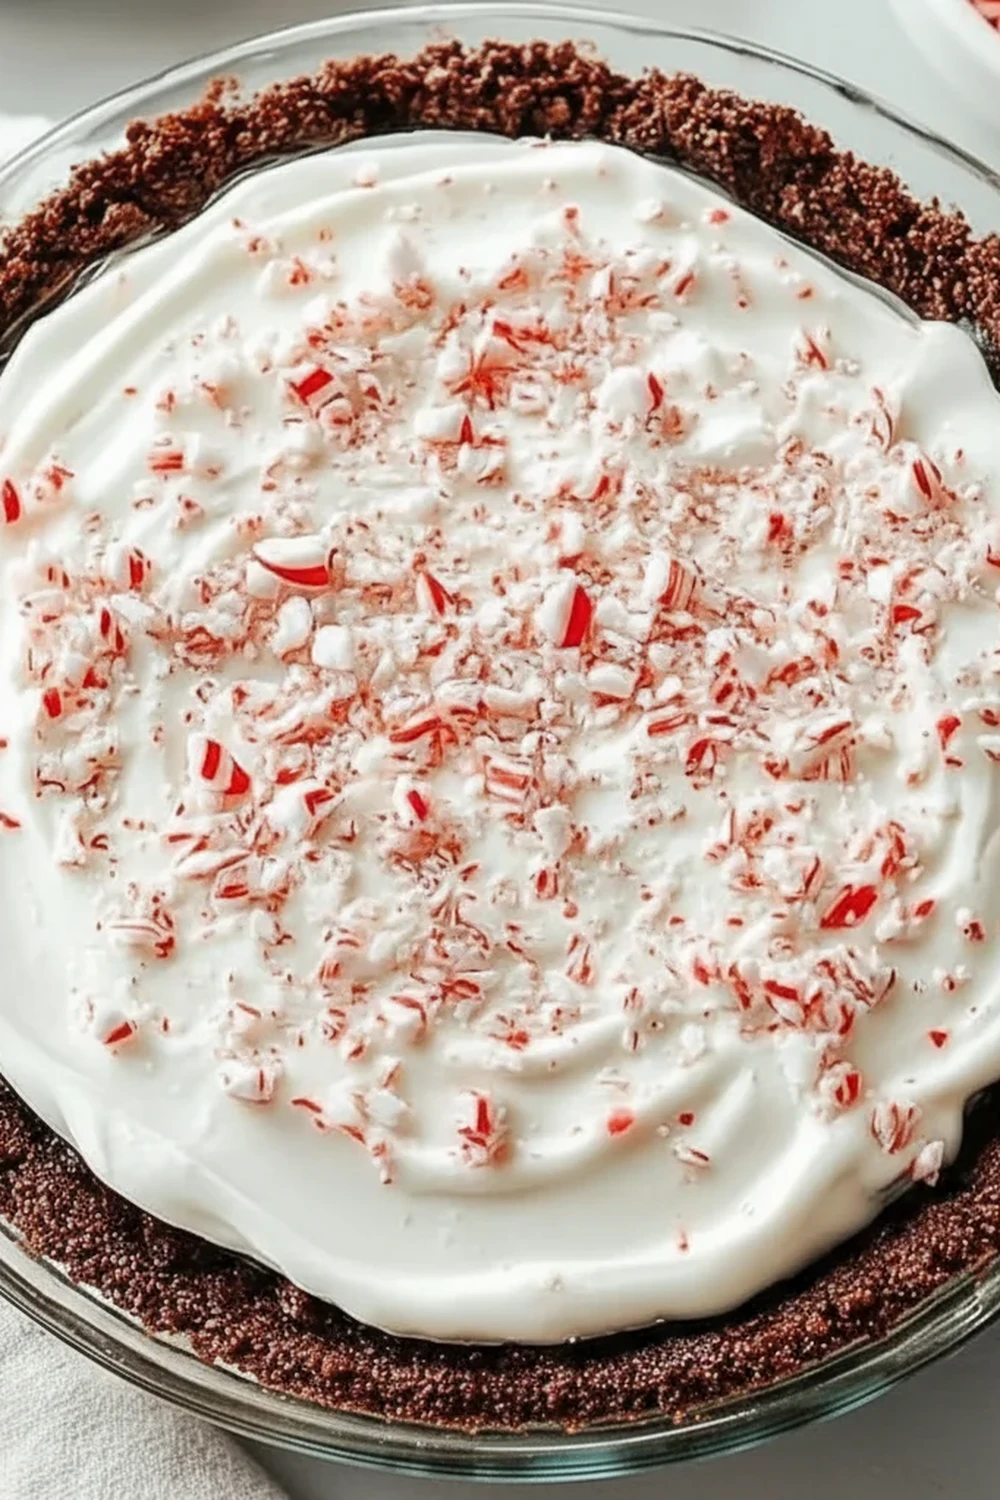
This pie features a deep, dark chocolate biscuit base that provides a satisfying crunch, a perfect counterpoint to the filling. The star of the show is the filling itself: a light, cloud-like mousse that’s rich with cream cheese and double cream, and brightly infused with that unmistakable festive peppermint. It’s cool, refreshing, and melts in your mouth. We then top it with drifts of whipped cream and a festive scattering of crushed candy canes, which add a delightful sparkle and texture. I’ve been making this for over 4 years, and it never disappoints; it always vanishes from the dessert table in record time.
It works beautifully for a grand Christmas dinner finale, a relaxed Boxing Day buffet, or simply as a special treat to have in the fridge during December. The striking contrast of the dark base, pale green or white filling, and vibrant red-and-white topping makes it a true centrepiece. It’s a dessert that feels special without demanding hours of your time in a busy kitchen, which is something we can all appreciate during the holidays.
Recipe Overview
This no-bake Christmas Peppermint Pie is all about texture and temperature. You get the crisp, buttery chocolate base, the ethereally light and cool peppermint cream filling, and the crunchy candy cane topping. I’ve tested this with both mint and peppermint extract, and I find pure peppermint extract gives a much cleaner, less toothpaste-like flavour, which is key to its success.
- Prep Time: 25 minutes
- Chill Time: 6 hours
- Total Time: 6 hours 25 minutes
- Servings: 8-10 people
- Difficulty: Easy
Why You’ll Love This Christmas Peppermint Pie
- Authentic Festive Flavour: The taste is pure Christmas. The robust, slightly bitter dark chocolate base balances the sweet, cool peppermint filling so neither one overpowers the other. It’s refreshing rather than cloying.
- Hands-On Time is Under 30 Minutes: While the pie needs a good long chill, the actual work involved in putting it together is minimal. You can have it assembled and in the fridge in less than half an hour.
- A Versatile Recipe: You can easily adapt the base using different biscuits like Oreos or ginger nuts for a spiced kick. You can also fold in chocolate chips or top with a rich chocolate ganache instead of whipped cream.
- Great for Holiday Gatherings: Because it needs to be made ahead, it’s an ideal dessert for dinner parties or family feasts. It takes the pressure off on the day, leaving you with just the fun decorating part before serving.
- Family Tested: My children adore this pie. Their favourite part is being given a zip-top bag and a rolling pin to bash the candy canes into a festive rubble for the topping. It always gets compliments from everyone who tries it.
Ingredients You’ll Need
For this recipe, we’re using simple, accessible ingredients. The one place I’d urge you not to compromise is on the peppermint extract. A good quality one, like Nielsen-Massey, makes a world of difference and provides a pure, clean peppermint flavour that is the heart of this Christmas pie.
- For the Biscuit Base:
- 300g dark chocolate biscuits (Bourbons work very well)
- 125g unsalted butter, melted
- For the Peppermint Filling:
- 450ml double cream, very cold
- 250g full-fat cream cheese (like Philadelphia), at room temperature
- 150g icing sugar, sifted
- 1 ½ tsp pure peppermint extract
- A few drops of green or red food colouring (entirely optional)
- For the Topping:
- 150ml double cream, whipped (optional)
- 5-6 candy canes, crushed
- 25g dark chocolate, finely shaved or grated
Sophia’s Tip: Make sure your cream cheese is properly at room temperature. If it’s too cold, it won’t blend smoothly with the sugar and you’ll end up with little lumps in your otherwise silky filling.
How to Make Christmas Peppermint Pie
This process is all about bringing together a few components simply. The chilling time does all the hard work, allowing the pie to set into a firm, sliceable dessert. We will create the base first, then the filling, and let it all set before the final flourish of decoration.
- Prepare the Base: Place the chocolate biscuits in a food processor and pulse until they form fine crumbs. If you don’t have a food processor, pop them in a sturdy plastic bag and bash with a rolling pin. Pour the crumbs into a bowl and stir in the 125g of melted butter until the mixture resembles wet sand.
- Form the Crust: Tip the buttery crumbs into a 23cm (9-inch) round pie dish or springform tin. Use the back of a spoon or the base of a glass to press the crumbs firmly and evenly across the bottom and up the sides of the dish.
- Chill the Base: Place the pie dish in the refrigerator to chill for at least 30 minutes. This step is crucial for ensuring the base is firm and doesn’t fall apart when you add the filling.
- Whip the Cream: In a large, chilled bowl, pour in the 450ml of cold double cream. Using an electric hand mixer or a stand mixer, whip the cream until it forms stiff peaks. Be careful not to over-whip. Set aside.
- Make the Cream Cheese Mixture: In a separate large bowl, beat the room-temperature cream cheese and sifted icing sugar together until completely smooth and creamy. This is where lumps can form, so take a minute to ensure it’s silky. Beat in the peppermint extract and the food colouring, if you’re using it.
- Combine the Filling: Take a large spoonful of the whipped cream and stir it into the cream cheese mixture to loosen it up. Then, gently fold in the remaining whipped cream in two or three additions. I find that using a large metal spoon in a figure-of-eight motion helps to keep all the air in the mixture, resulting in a lighter mousse.
- Fill and Chill: Spoon the peppermint filling into your chilled biscuit base and gently spread it out into an even layer with a spatula.
- The Final Chill: Cover the pie loosely with cling film and place it in the refrigerator to set for a minimum of 6 hours, though overnight is even better. The pie needs this time to become firm enough to slice cleanly.
- Decorate and Serve: Just before you’re ready to serve, you can either top the pie with more whipped cream or serve it as is. Sprinkle the crushed candy canes and dark chocolate shavings over the top. Slice and serve immediately.
Tips From My Kitchen
- Temperature Control is Key: For the smoothest filling, your cream cheese must be at room temperature. For the best whipped cream with the most volume, your double cream and the bowl you whip it in should be very cold. This little bit of prep makes a huge difference.
- The Secret Step: I learned that adding a pinch of salt to the biscuit base really elevates the chocolate flavour and cuts through the sweetness of the filling. It’s a small detail that has a big impact on the final taste of the pie.
- Make-Ahead Magic: This peppermint pie is a fantastic get-ahead dessert. You can make the entire pie (base and filling) up to two days in advance. Keep it covered in the fridge and just add the delicate crushed candy cane and chocolate topping right before serving to ensure they stay crunchy.
- Storage Savvy: Leftovers will keep well in the refrigerator for up to 3 days. Cover it or store it in an airtight container. The candy canes may start to dissolve slightly after the first day, but it will still taste wonderful.
Equipment You’ll Need
- Food processor (or a zip-top bag and rolling pin)
- 23cm (9-inch) pie dish or springform tin
- Electric hand mixer or stand mixer
- Large mixing bowls
- Spatula
Common Mistakes to Avoid
- A Soggy Base: This can happen if you don’t press the crumbs down firmly enough or if you skip the initial 30-minute chilling time. That first chill is what helps the butter solidify and bind everything together into a crisp crust.
- A Lumpy Filling: This is almost always caused by using cream cheese that is too cold. It just won’t combine smoothly with the sugar. Let it sit on the counter for about an hour before you begin. For a great guide on working with cream cheese, BBC Good Food has some excellent tips.
- Skipping the Full Chill Time: Patience is an ingredient in this recipe! If you try to slice the pie after only a couple of hours, the filling will be too soft and won’t hold its shape. Give it the full 6 hours, or preferably let it set overnight.
Delicious Variations to Try
Once you’ve mastered the classic Christmas Peppermint Pie, there are plenty of ways to make it your own. Here are a few ideas we’ve enjoyed:
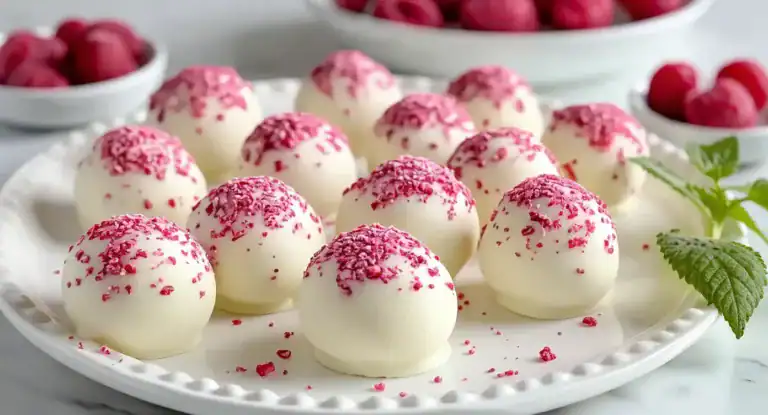
- Chocolate Lover’s Version: Melt 100g of dark chocolate and let it cool slightly. After the pie has chilled for an hour, pour the melted chocolate over the top to create a solid ganache layer. Or, for a different twist, check out my decadent Biscoff Truffles for another festive chocolate idea.
- White Chocolate Peppermint: Gently fold 100g of melted and cooled white chocolate into the peppermint filling before pouring it into the crust. It adds another layer of creamy sweetness that works beautifully.
- Layered Pie: Divide the filling in half. Leave one half white, and tint the other half with green or red food colouring. Carefully layer the two colours in the pie crust for a beautiful striped effect when you slice it.
What to Serve With Your Christmas Peppermint Pie
This pie is a complete showstopper on its own, but a few accompaniments can make it even more special.
- Hot Chocolate Sauce: A small jug of warm, dark chocolate sauce served on the side is divine. It creates a wonderful hot-and-cold contrast with the chilled pie.
- A Simple Coffee: A freshly brewed black coffee or an espresso is the ideal companion, as its bitterness cuts through the richness of the dessert perfectly.
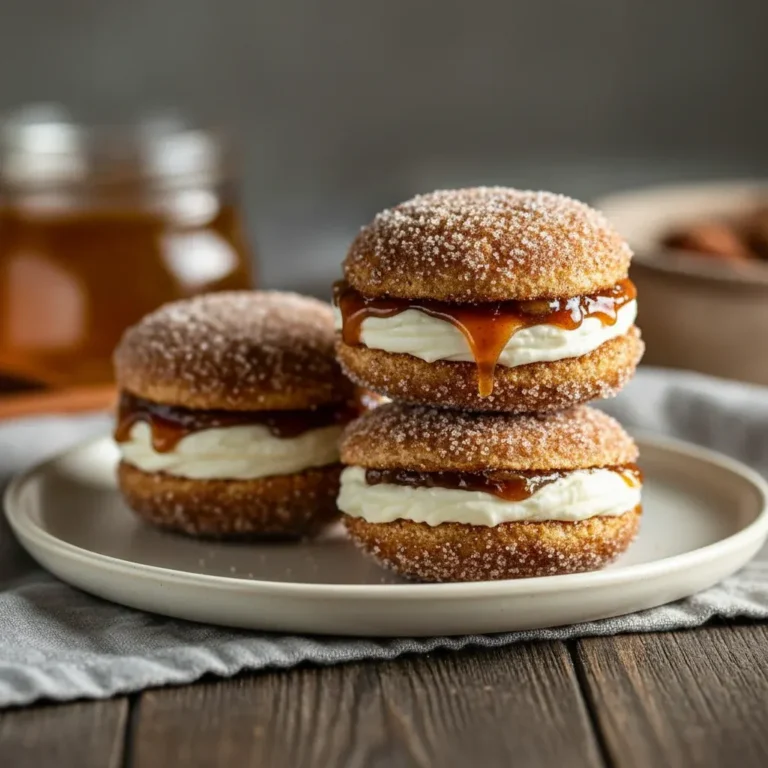
- Complementary Bakes: If you’re creating a full dessert buffet, this pie sits wonderfully alongside other festive bakes. It offers a cool, creamy option next to something like spiced Apple Cider Whoopie Pies.
Frequently Asked Questions
Christmas Peppermint Pie
Ingredients
Method
- Prepare the Base: Place the chocolate biscuits in a food processor and pulse until they form fine crumbs. If you don't have a food processor, pop them in a sturdy plastic bag and bash with a rolling pin. Pour the crumbs into a bowl and stir in the 125g of melted butter until the mixture resembles wet sand.
- Form the Crust: Tip the buttery crumbs into a 23cm (9-inch) round pie dish or springform tin. Use the back of a spoon or the base of a glass to press the crumbs firmly and evenly across the bottom and up the sides of the dish.
- Chill the Base: Place the pie dish in the refrigerator to chill for at least 30 minutes. This step is crucial for ensuring the base is firm and doesn't fall apart when you add the filling.
- Whip the Cream: In a large, chilled bowl, pour in the 450ml of cold double cream. Using an electric hand mixer or a stand mixer, whip the cream until it forms stiff peaks. Be careful not to over-whip. Set aside.
- Make the Cream Cheese Mixture: In a separate large bowl, beat the room-temperature cream cheese and sifted icing sugar together until completely smooth and creamy. This is where lumps can form, so take a minute to ensure it's silky. Beat in the peppermint extract and the food colouring, if you're using it.
- Combine the Filling: Take a large spoonful of the whipped cream and stir it into the cream cheese mixture to loosen it up. Then, gently fold in the remaining whipped cream in two or three additions. I find that using a large metal spoon in a figure-of-eight motion helps to keep all the air in the mixture, resulting in a lighter mousse.
- Fill and Chill: Spoon the peppermint filling into your chilled biscuit base and gently spread it out into an even layer with a spatula.
- The Final Chill: Cover the pie loosely with cling film and place it in the refrigerator to set for a minimum of 6 hours, though overnight is even better. The pie needs this time to become firm enough to slice cleanly.
- Decorate and Serve: Just before you're ready to serve, you can either top the pie with more whipped cream or serve it as is. Sprinkle the crushed candy canes and dark chocolate shavings over the top. Slice and serve immediately.
Notes
I do hope you give this Christmas Peppermint Pie a try this festive season. It has brought so much joy to our holiday table, and I’m sure it will do the same for yours. It’s a wonderfully rewarding dessert to make, and seeing the delighted faces of friends and family as they take their first bite is what holiday cooking is all about. If you make it, please let me know how it turned out in the comments below – I love hearing from you! Happy baking!