Lemon Curd Tartlets | Mini Desserts
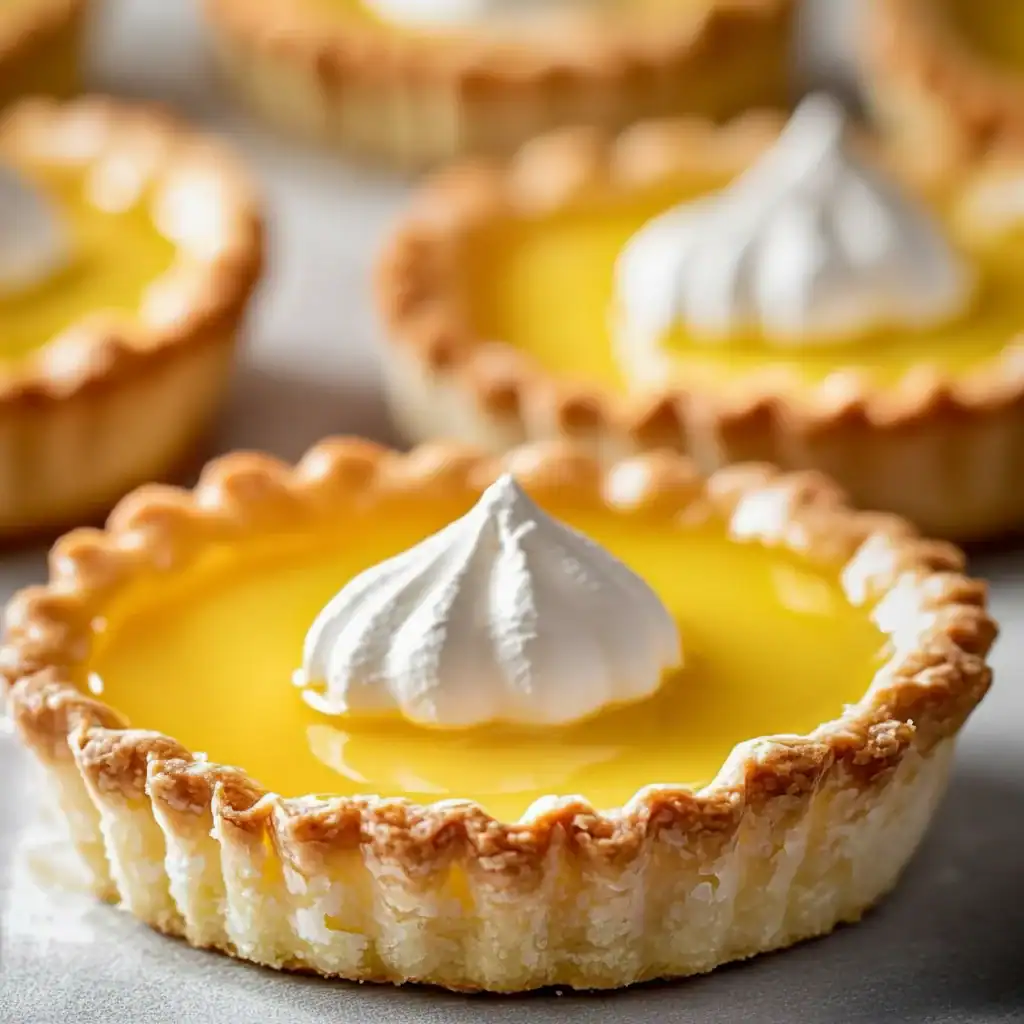
There is something truly special about a dessert that perfectly balances sharp and sweet, creamy and crisp. These Lemon Curd Tartlets are exactly that. Each bite starts with the snap of a buttery, shortbread-like pastry case, which gives way to a silky, intensely zesty lemon curd filling that floods your senses with sunshine. It’s a sophisticated and elegant dessert, but the process of making it is wonderfully grounding and satisfying. This is my go-to recipe when I need something that looks impressive for guests but feels like a treat just for us.
What I adore most about these mini tarts is their sheer versatility. They are small enough to be a delicate finish to a hearty meal, yet substantial enough to be the star of an afternoon tea spread. The vibrant yellow filling is a beautiful sight on any dessert table, promising a burst of pure, unadulterated lemon flavour. It’s not just a hint of citrus; it’s a full-bodied, tangy experience that is bright, refreshing, and utterly delicious. We’re not just making a dessert here; we’re creating little parcels of joy.
This recipe is ideal for anyone who appreciates classic baking. The techniques are traditional, the ingredients are simple, and the results are consistently wonderful. Whether you’re planning a garden party, a special family lunch, or simply want to treat yourself, these lemon tartlets are a delightful project that will fill your kitchen with the most incredible aromas. If you’re looking for other dessert showstoppers, my Peach Crumb Cheesecake is another recipe that always gets rave reviews.
Recipe Overview
These lemon curd tartlets consist of two main components: a crisp, sweet pastry shell and a rich, tangy lemon curd filling. The pastry is made with cold butter, creating a wonderfully short, melt-in-the-mouth texture. The star, of course, is the homemade lemon curd, which uses both fresh lemon juice and zest for a flavour that is powerful and bright. During my recipe testing, I found that adding an extra egg yolk to the curd gives it an unbelievably rich and creamy consistency that sets it apart from shop-bought versions.
- Prep Time: 30 minutes
- Cook Time: 25 minutes
- Total Time: 55 minutes (+ 1 hour chilling)
- Servings: 12 tartlets
- Difficulty: Medium
Why You’ll Love This Lemon Curd Tartlets Recipe
- Genuine Flavour: The homemade lemon curd has an authentic, zesty tang that is beautifully balanced by the sweetness of the pastry. It’s sharp, fragrant, and tastes of real lemons, not artificial flavourings.
- Satisfying to Make: The whole process, from rubbing butter into flour to gently stirring the curd until it thickens, is a truly rewarding kitchen project. The hands-on time is just under an hour.
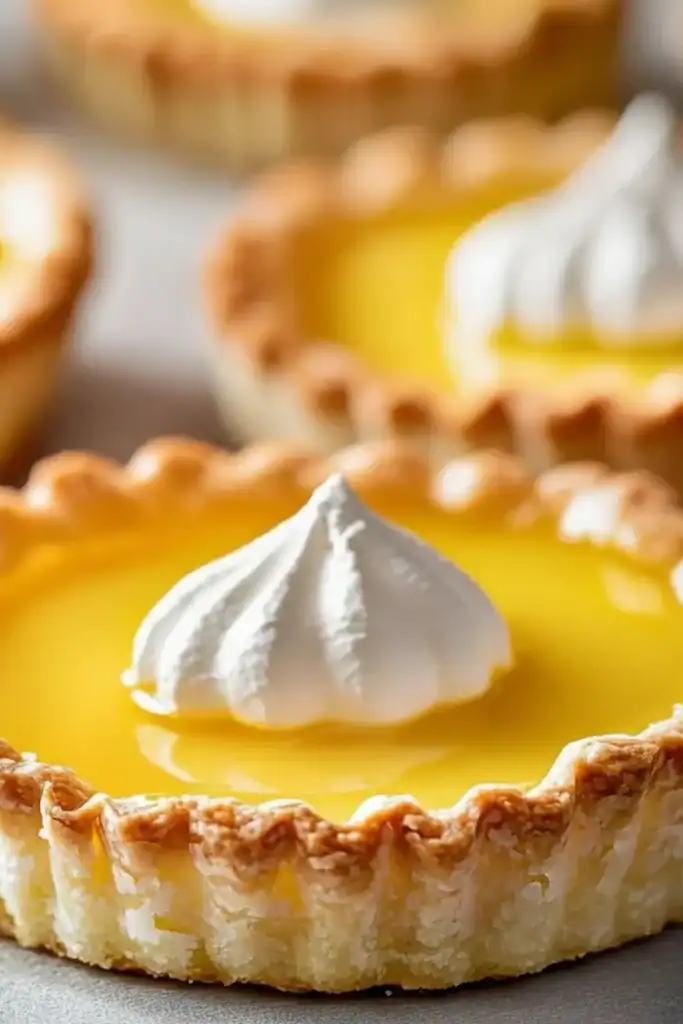
- Flexible Recipe: These tartlets are a wonderful blank canvas. You can top them with a light dusting of icing sugar, a swirl of toasted meringue, fresh raspberries, or even a dollop of clotted cream.
- Great for Afternoon Tea: These mini tarts are a stunning addition to any afternoon tea stand or dessert buffet, offering a perfect individual portion. They also work beautifully for spring gatherings and Easter celebrations.
- Family Tested: My husband, who’s usually picky about desserts, asked for seconds the first time I made these! It’s a recipe that always gets compliments from everyone who tries it.
Ingredients You’ll Need
For the best results, use good quality, full-fat ingredients. The flavour of the butter really shines through in the pastry, so I always opt for a good British unsalted butter. Similarly, fresh, unwaxed lemons will give your curd a far superior flavour and aroma compared to bottled juice.
- For the Sweet Pastry:
- 200g plain flour, plus extra for dusting
- 50g icing sugar
- 100g cold unsalted butter, cubed
- 1 large egg yolk
- 2-3 tbsp cold water
- For the Lemon Curd Filling:
- 4 large unwaxed lemons (you’ll need the zest of all 4 and 150ml of juice)
- 200g caster sugar
- 100g unsalted butter, softened
- 3 large eggs
- 1 large egg yolk
Sophia’s Tip: To get the most juice from your lemons, roll them firmly on your worktop for about 15 seconds before cutting and squeezing. This helps to break down the pulp inside.
How to Make Lemon Curd Tartlets
We’ll start by making the pastry, as it needs time to chill. While it’s resting, we can prepare the gloriously zesty lemon curd. The key is to take your time and enjoy the process. Don’t rush the curd – slow and steady heat is your friend here.
- Make the Pastry Dough: In a large bowl, sift the plain flour and icing sugar. Add the cold, cubed butter. Using your fingertips, rub the butter into the flour until the mixture resembles fine breadcrumbs. Alternatively, pulse it in a food processor. Mix the egg yolk with 2 tablespoons of cold water, then add it to the flour mixture. Bring the dough together with your hands (or a knife) until it just forms a ball. Add the final tablespoon of water only if it seems too dry.
- Chill the Pastry: Wrap the dough in cling film and flatten it into a disc. Let it rest in the fridge for at least 30 minutes. This step is crucial for preventing the pastry from shrinking when baked.
- Prepare the Tins and Bake Blind: Preheat your oven to 180°C (160°C fan). Lightly grease a 12-hole muffin tin or individual tartlet tins. On a floured surface, roll out the chilled pastry to about 3mm thick. Cut out 12 circles, slightly larger than your tin holes. Gently press the pastry circles into the tin, ensuring there are no air gaps. Prick the bases with a fork and chill again for another 15-20 minutes.
- Bake the Pastry Cases: Line each pastry case with a small piece of baking parchment and fill with baking beans or uncooked rice. Bake for 15 minutes. Carefully remove the paper and beans, then return the cases to the oven for another 5-7 minutes, or until they are a pale golden colour and feel dry to the touch. This process of blind baking ensures a crisp base. Set aside to cool.
- Start the Lemon Curd: While the pastry cools, make the filling. In a heatproof bowl set over a saucepan of gently simmering water (a bain-marie), add the lemon zest, lemon juice, caster sugar, and butter. Stir occasionally until the butter has completely melted.
- Thicken the Curd: In a separate bowl, lightly whisk the 3 whole eggs and 1 egg yolk. Slowly pour the warm lemon mixture into the eggs, whisking constantly to prevent them from scrambling. Pour the entire mixture back into the heatproof bowl.
- Cook Until Silky: Return the bowl to the pan over a low heat. Stir continuously with a wooden spoon or spatula for about 8-10 minutes. I find that scraping the bottom and sides is key. The curd is ready when it has thickened enough to coat the back of the spoon. Don’t let it boil!
- Fill and Final Bake: Pour the warm lemon curd into the cooled pastry cases. Tap the tin gently on the worktop to settle the filling. Bake for a final 5-7 minutes, just until the curd is set but still has a slight wobble in the centre.
- Cool and Serve: Let the lemon curd tartlets cool completely in the tin before carefully removing them. They are delicate, so be gentle! Serve at room temperature or slightly chilled.
Tips From My Kitchen
- Temperature Control: The single most important factor for a smooth curd is gentle heat. If your mixture gets too hot, the eggs will scramble. Using a double boiler (bain-marie) gives you excellent control and peace of mind.
- The Secret Step: I learned that passing the finished curd through a fine-mesh sieve before pouring it into the tartlet cases is the secret to a perfectly smooth, professional-quality finish. It removes the zest and any tiny bits of cooked egg that might have formed.
- Make-Ahead: You can prepare the components in advance. The baked pastry cases will keep in an airtight container for up to 2 days. The lemon curd can be made and stored in a sterilised jar in the fridge for up to a week. Simply assemble and do the final bake just before serving.
- Storage: Once assembled, the tartlets are best eaten on the day they are made for the crispest pastry. However, they will keep in an airtight container in the fridge for up to 2 days. The pastry will soften a little over time.
Equipment You’ll Need
- 12-hole standard muffin tin or loose-bottomed tartlet tins
- Large mixing bowl
- Rolling pin
- Saucepan and a heatproof bowl (for the double boiler)
- Whisk and a wooden spoon or silicone spatula
- Fine-mesh sieve
- Baking beans or uncooked rice
What to Serve With Lemon Curd Tartlets
These beautiful mini tarts are delightful on their own, but they also pair wonderfully with other elements to create a more rounded dessert experience.
- Crème Fraîche: A simple dollop of crème fraîche is my favourite accompaniment. Its slightly sour tang provides a lovely contrast to the sweet pastry and sharp lemon.
- Fresh Berries: A few fresh raspberries or blueberries on the side not only look beautiful but also add another layer of fruity sharpness.
- A Cup of Tea: For a classic afternoon treat, serve these with a pot of Earl Grey tea. The bergamot notes in the tea complement the citrus of the lemon tart perfectly. For other bite-sized treats that work well on a dessert platter, my Biscoff Truffles are always popular.
Frequently Asked Questions
Lemon Curd Tartlets
Ingredients
Method
- Make the Pastry Dough: In a large bowl, sift the plain flour and icing sugar. Add the cold, cubed butter. Using your fingertips, rub the butter into the flour until the mixture resembles fine breadcrumbs. Alternatively, pulse it in a food processor. Mix the egg yolk with 2 tablespoons of cold water, then add it to the flour mixture. Bring the dough together with your hands (or a knife) until it just forms a ball. Add the final tablespoon of water only if it seems too dry.
- Chill the Pastry: Wrap the dough in cling film and flatten it into a disc. Let it rest in the fridge for at least 30 minutes. This step is crucial for preventing the pastry from shrinking when baked.
- Prepare the Tins and Bake Blind: Preheat your oven to 180°C (160°C fan). Lightly grease a 12-hole muffin tin or individual tartlet tins. On a floured surface, roll out the chilled pastry to about 3mm thick. Cut out 12 circles, slightly larger than your tin holes. Gently press the pastry circles into the tin, ensuring there are no air gaps. Prick the bases with a fork and chill again for another 15-20 minutes.
- Bake the Pastry Cases: Line each pastry case with a small piece of baking parchment and fill with baking beans or uncooked rice. Bake for 15 minutes. Carefully remove the paper and beans, then return the cases to the oven for another 5-7 minutes, or until they are a pale golden colour and feel dry to the touch. This process of blind baking ensures a crisp base. Set aside to cool.
- Start the Lemon Curd: While the pastry cools, make the filling. In a heatproof bowl set over a saucepan of gently simmering water (a bain-marie), add the lemon zest, lemon juice, caster sugar, and butter. Stir occasionally until the butter has completely melted.
- Thicken the Curd: In a separate bowl, lightly whisk the 3 whole eggs and 1 egg yolk. Slowly pour the warm lemon mixture into the eggs, whisking constantly to prevent them from scrambling. Pour the entire mixture back into the heatproof bowl.
- Cook Until Silky: Return the bowl to the pan over a low heat. Stir continuously with a wooden spoon or spatula for about 8-10 minutes. I find that scraping the bottom and sides is key. The curd is ready when it has thickened enough to coat the back of the spoon. Don’t let it boil!
- Fill and Final Bake: Pour the warm lemon curd into the cooled pastry cases. Tap the tin gently on the worktop to settle the filling. Bake for a final 5-7 minutes, just until the curd is set but still has a slight wobble in the centre.
- Cool and Serve: Let the lemon curd tartlets cool completely in the tin before carefully removing them. They are delicate, so be gentle! Serve at room temperature or slightly chilled.
Notes
I do hope you give these gorgeous Lemon Curd Tartlets a try. There’s a deep satisfaction in mastering a classic recipe like this, and the bright, zesty flavour is a wonderful reward for your efforts. They bring a little bit of sunshine to the table, whatever the weather is doing outside. If you make them, I’d love to hear how they turned out for you. Please leave a comment below and share your experience!
Happy Baking,
Sophia