Peanut Butter and Jelly Bars – A Sweet & Chewy Nostalgic Treat
The Ultimate Peanut Butter and Jelly Bars: A Delicious No-Bake Treat
Is there a flavour that instantly transports you back to simpler times? For us, nothing evokes that feeling quite like the cherished combination of peanut butter and jelly. It’s the very essence of childhood lunches, afternoon treats, and wonderfully carefree moments. But what if we could elevate that beloved flavour profile into a dessert that’s both refined and remarkably simple to prepare? Well, that’s precisely what we’ve done. Allow us to introduce you to the ultimate recipe for Peanut Butter and Jelly Bars.
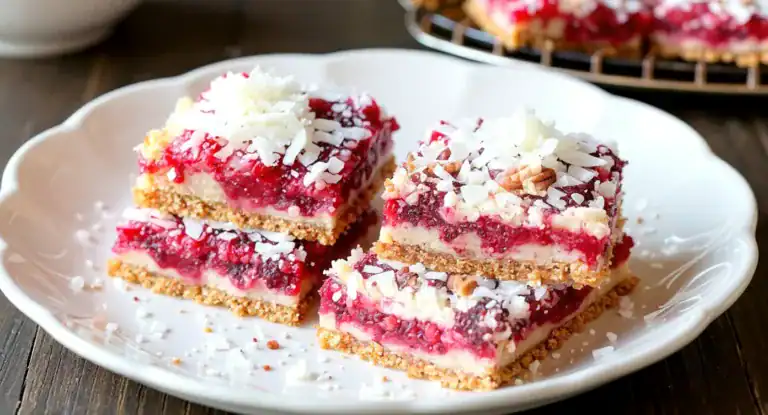
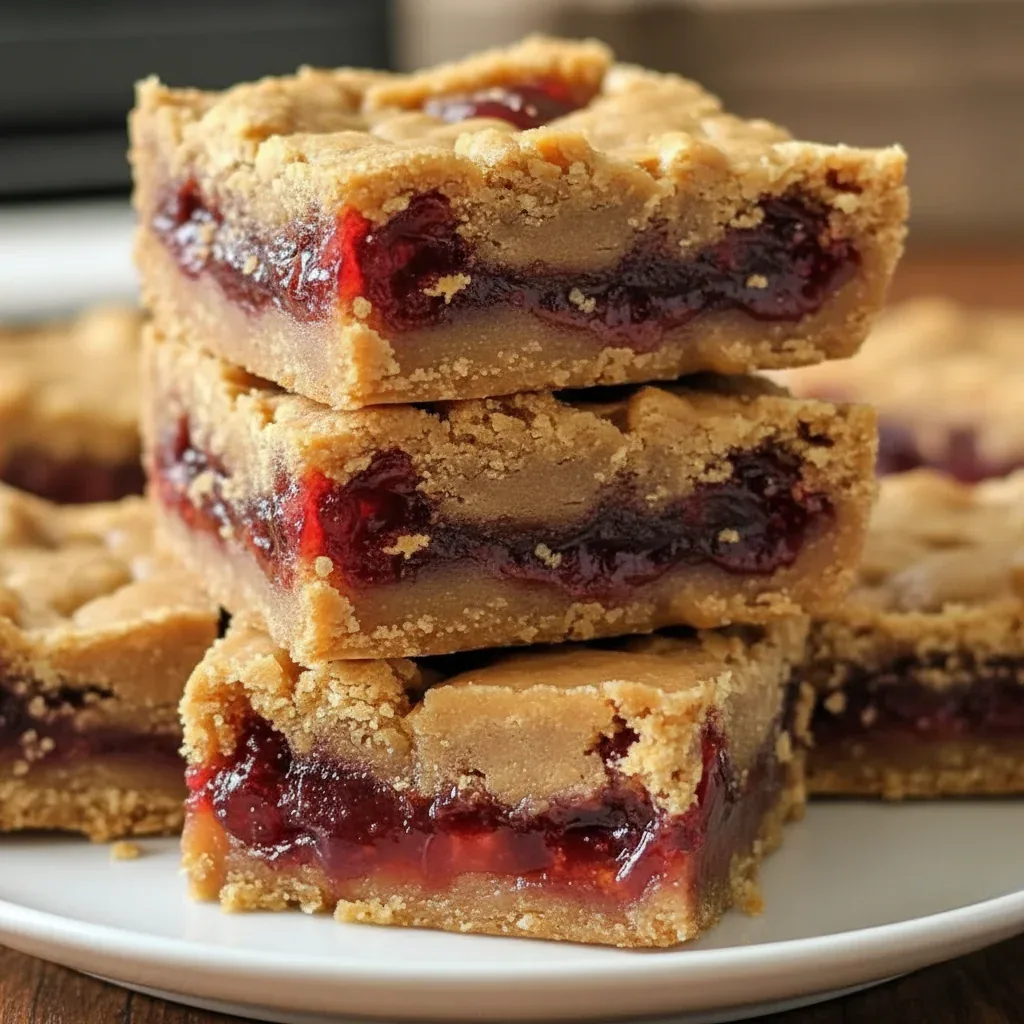
These incredible bars encapsulate all the best parts of the beloved sandwich—the creamy, nutty goodness of peanut butter and the sweet burst of fruit jam, all set upon a crumbly, buttery biscuit base. They are a truly wonderful treat that doesn’t require an oven, involves very little fuss, and promises an explosion of flavour. Whether you’re searching for a winning bake sale contribution, a speedy dessert for guests, or a delightful addition to your family’s treat rotation, this recipe is set to become a firm favourite. Let’s begin!
Why You’ll Love This Recipe
- Completely Oven-Free: We’re big fans of simplicity! These are superb no-bake peanut butter bars, which means no preheating the oven is necessary. Simply mix, press, chill, and serve. This makes them ideal for warmer days or any time you need a delicious dessert without the wait.
- A Taste of Childhood: That wonderful blend of salty peanut butter and sweet jam is a classic for a reason, adored by every generation. This recipe transforms the humble sandwich into a deeply satisfying PB&J dessert.
- Wonderfully Adaptable: It’s so easy to make these bars your own. You could exchange the strawberry jam for raspberry or even apricot, opt for crunchy peanut butter for more texture, or finish with a scattering of chopped peanuts. The creative options are truly limitless.
- Ideal for Every Event: We can promise you these bars are always a hit. They make for a perfect kid-friendly treat that will vanish from the plate at a party, yet they are sophisticated enough to be served as a delightful after-dinner sweet for adults. They also serve as a fantastic lunchbox snack, offering a little something more special than a standard sandwich.
Ingredients
- 250g digestive biscuits, finely crushed
- 125g unsalted butter, melted
- 50g granulated sugar
- 250g smooth peanut butter
- 100g icing sugar, sifted
- 60g unsalted butter, softened
- 1 tsp vanilla extract
- A pinch of salt
- 200g good-quality strawberry or raspberry jam
- 50g roasted peanuts, roughly chopped (optional, for topping)
To create something truly delicious, we’re relying on a handful of straightforward, readily available ingredients that combine to make magic. Here is the full list of what you will need:
- 250g digestive biscuits, finely crushed
- 125g unsalted butter, melted
- 50g granulated sugar
- 250g smooth peanut butter
- 100g icing sugar, sifted
- 60g unsalted butter, softened
- 1 tsp vanilla extract
- A pinch of salt
- 200g good-quality strawberry or raspberry jam
- 50g roasted peanuts, roughly chopped (optional, for topping)
How to Make the Perfect Peanut Butter and Jelly Bars
We’ve organised this recipe into three easy-to-follow parts: making the base, whipping up the peanut butter layer, and finally adding the jam topping. Follow these simple instructions, and you’ll soon have a tray of these delightful bars setting in your fridge.
Step 1: Prepare the Biscuit Base
- Ready your baking tin: The first job is to prepare your tin. We find an 8×8 inch (20×20 cm) square tin works perfectly. Line it with baking parchment, ensuring there is some overhang on the sides. This clever trick creates handles, which will make lifting the finished bars out a breeze.
- Create your biscuit crumbs: Tip the digestive biscuits into a food processor and blitz them until you have a fine, sandy texture. If you don’t own a food processor, simply place them in a resilient plastic bag and bash them with a rolling pin – a fantastic way to relieve some tension!
- Mix the base ingredients: In a bowl, stir together the biscuit crumbs and granulated sugar. Next, pour in the melted butter and mix thoroughly until every crumb is well coated. The final consistency should be like wet sand.
- Press into the tin: Transfer the buttery crumb mixture into your lined tin. Use the back of a spoon or the flat bottom of a glass to press it down firmly and evenly, forming a solid base. Pop the tin into the fridge to chill for a minimum of 30 minutes as you move on to the filling.
Step 2: Create the Creamy Peanut Butter Filling
This luscious layer is the true star of our Peanut Butter and Jelly Bars. It’s wonderfully rich, smooth, and full of that nutty flavour we all love. For more details on the varieties of peanut butter and their nutritional value, we recommend this great article from BBC Good Food.
- Cream the butter and peanut butter: In a large bowl, using an electric hand mixer or a stand mixer fitted with the paddle attachment, beat the softened butter with the smooth peanut butter until the mixture becomes pale and airy. This usually takes about 2–3 minutes.
- Incorporate the sugar and vanilla: Sieve the icing sugar directly into the bowl to ensure a silky-smooth texture. Add the vanilla extract and the pinch of salt, which beautifully balances the sweetness and deepens the peanut flavour. Begin mixing on a low setting before increasing the speed, beating until smooth and fully combined.
- Spread over the base: Retrieve your chilled biscuit base from the refrigerator. Dollop the peanut butter filling on top and use an offset spatula or the back of a spoon to carefully spread it into a smooth, even layer. Be gentle to keep the crumb base intact.
Step 3: Add the Jelly Topping and Chill
And now, for the final element that cements these bars as a true classic. The sweet, tangy jam provides the perfect contrast to the rich peanut butter filling.
- Warm the jam: Place your chosen jam into a small, microwaveable bowl. Heat it gently in the microwave for about 15–20 seconds. This simple step makes it slightly looser and far easier to spread. Stir it well.
- Spread the jam: Pour the warmed jam over the peanut butter filling. Gently guide it with a spatula to cover the entire surface. You can aim for a perfectly smooth top or create some artistic swirls for a more homemade appearance.
- Add the final flourish: If you’re including them, now is the time to sprinkle the chopped roasted peanuts over the jam. This not only looks great but also adds a delightful crunch and extra nuttiness.
- Chill until set: Return the tin to the refrigerator and allow the bars to chill for at least 2–3 hours, or until they are completely firm. Patience here is key to achieving clean, perfectly cut squares.
- Slice and enjoy: When the bars are fully set, use the parchment paper handles to lift the slab from the tin. Place it on a chopping board and, with a sharp knife, slice it into 16 even squares. It’s time to enjoy your creation!
Tips and Variations for Your Bars
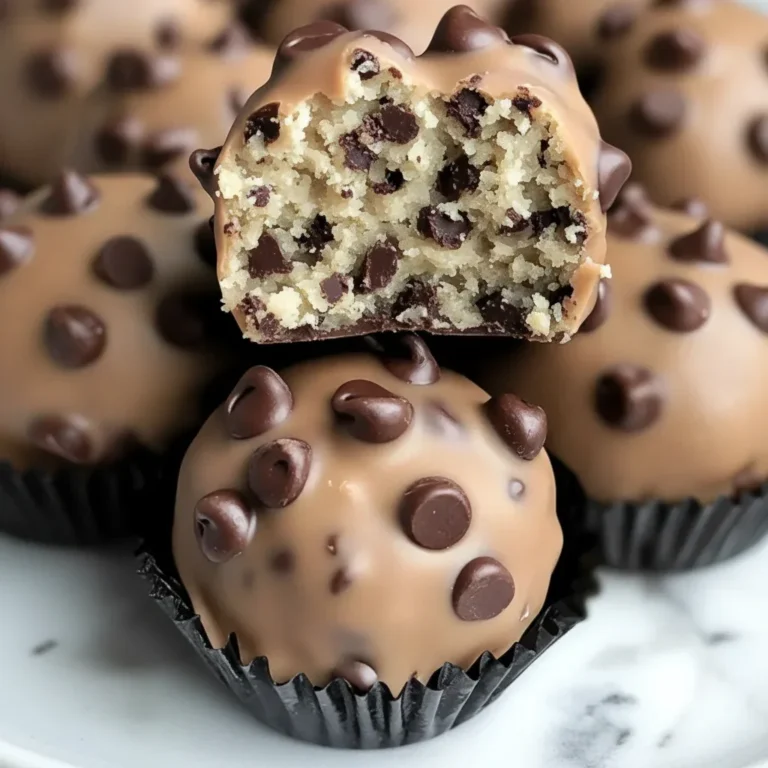
A brilliant feature of this recipe is its flexibility. If you’re a fan of simple, no-bake creations, you may also adore our Biscoff Rice Krispie Treats for another wonderfully quick and tasty option.
- Experiment with Jams: Don’t just stick to strawberry! Blackberry, apricot, or even a zesty marmalade would work beautifully. Using a seedless jam will result in the smoothest possible finish.
- Add Some Crunch: For those who love more texture, using crunchy peanut butter in the filling is an excellent choice. You could also mix in a handful of mini chocolate chips for an even more indulgent treat.
- Alternative Biscuit Bases: While digestive biscuits are our go-to, feel free to substitute them with shortbread, Graham crackers, or even Lotus Biscoff biscuits to introduce a lovely caramel-spice note.
- A Lighter Option: To make a slightly healthier version, opt for a natural peanut butter made purely from peanuts and salt. You might need to adjust the icing sugar quantity, as these varieties are often unsweetened.
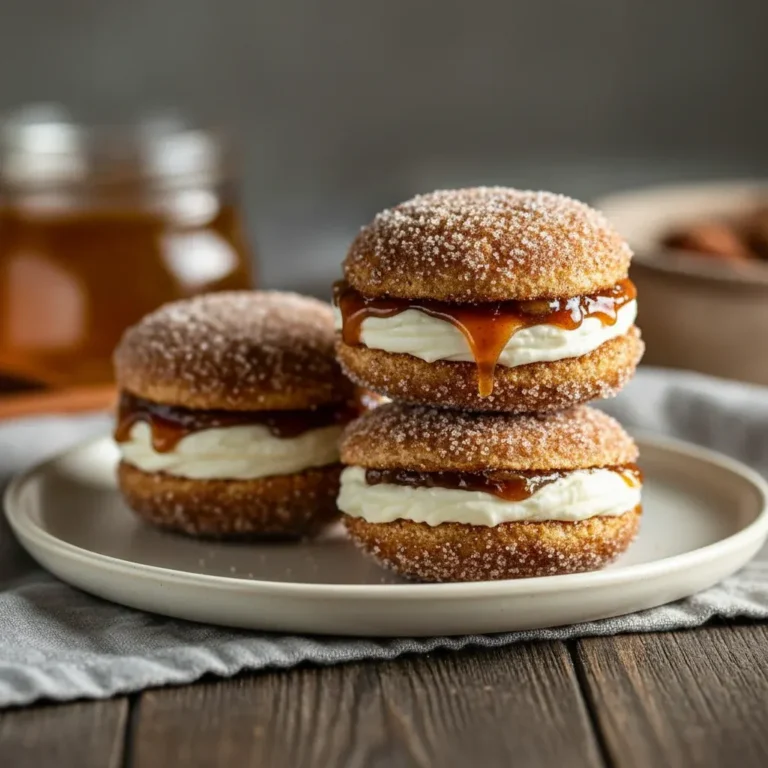
For anyone who appreciates classic American flavours with an inventive twist, our Apple Cider Whoopie Pies are another wonderful recipe that delivers comfort and nostalgia in every bite.
FAQ
A Timeless Treat Reimagined
And that’s our straightforward yet sensational recipe for Peanut Butter and Jelly Bars, a creation that brings a little bit of childhood happiness right into your kitchen. With its buttery biscuit foundation, velvety peanut butter centre, and sweet jam finish, this is a dessert that truly delivers on all fronts. It’s a wonderful reminder that the most classic flavour pairings are often the most unforgettable.
We sincerely hope you enjoy both the process of making and the pleasure of eating these bars. They are ideal for sharing with loved ones, and we are confident they will be a tremendous success. Did you try a unique variation? We would be delighted to hear all about it! Feel free to leave a comment below or tag us in your photos on social media.
Recipe Card

Ingredients
- 250g digestive biscuits, finely crushed
- 125g unsalted butter, melted
- 50g granulated sugar
- 250g smooth peanut butter
- 100g icing sugar, sifted
- 60g unsalted butter, softened
- 1 tsp vanilla extract
- A pinch of salt
- 200g good-quality strawberry or raspberry jam
- 50g roasted peanuts, roughly chopped (optional)
Instructions
- Combine crushed biscuits, granulated sugar, and melted butter. Press the mixture firmly into a lined 8×8 inch (20×20 cm) tin. Chill for at least 30 minutes.
- In a large bowl, beat the softened butter and smooth peanut butter until pale and airy. Mix in the sifted icing sugar, vanilla extract, and salt until smooth. Spread this filling evenly over the chilled base.
- Gently warm the jam for 15-20 seconds in a microwave to loosen it. Pour and spread over the peanut butter layer. If using, sprinkle the chopped peanuts on top.
- Refrigerate for at least 2-3 hours, or until completely firm. Use the parchment paper to lift the block from the tin, then slice into 16 squares and enjoy.