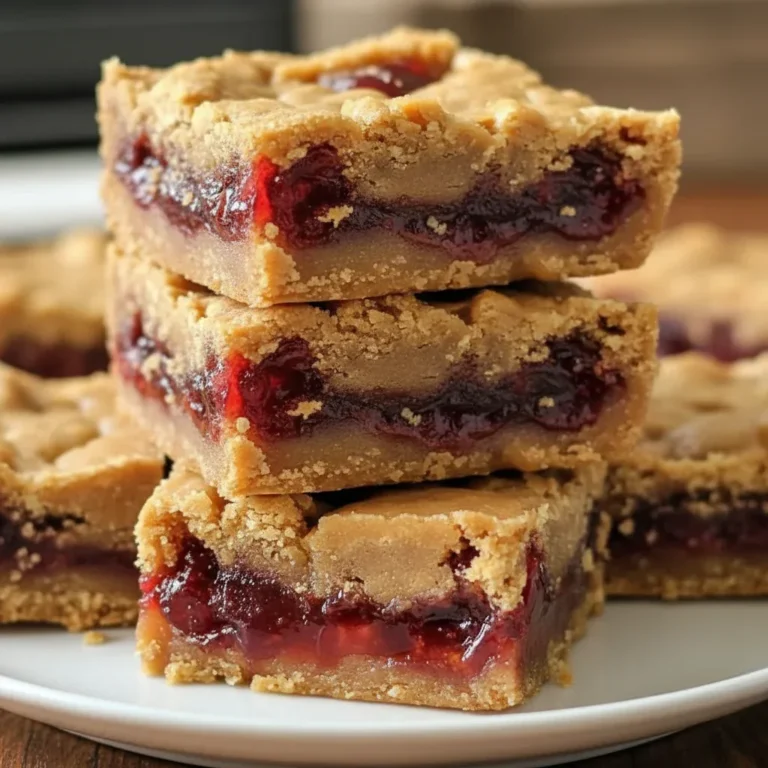
Raspberry Coconut Magic Bars: A Sweet & Gooey Treat
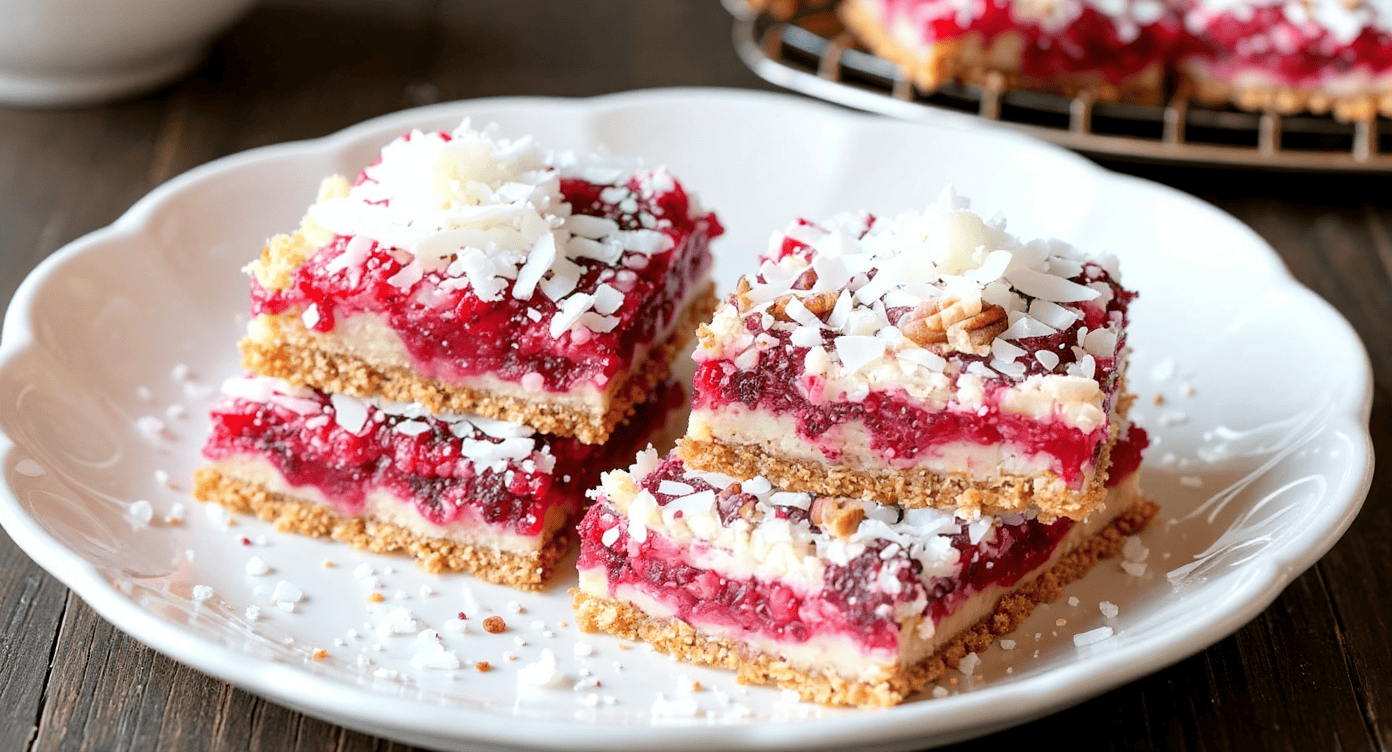
Our Ultimate Raspberry Coconut Magic Bars: An Irresistibly Easy Recipe
Have you ever longed for a dessert that delivers bakery-quality flavour without any of the fuss? A treat that perfectly marries sweet and tart, with a delightful contrast of chewy and crunchy textures in every single mouthful? If that sounds like heaven, then we have just the recipe for you. Prepare to be utterly charmed by these scrumptious Raspberry Coconut Magic Bars. They are the simple, wonderful solution to any sweet craving, layering flavour upon flavour in a traybake that feels exceptionally special.
These bars have become our signature bake for almost every occasion, from a simple afternoon cuppa and family get-togethers to bake sales and weekend treats. The magic is more than just a name; it’s the astonishing way a handful of basic ingredients bake into something so wonderfully decadent and completely addictive. We’re confident that after one taste, you’ll be baking them on repeat.
What Exactly Are Raspberry Coconut Magic Bars?
If the term “magic bars” or seven layer bars rings a bell, then you already have an idea of the deliciousness we’re talking about. Our recipe is a vibrant take on that beloved American classic. Traditionally, these bars consist of a buttery biscuit crust, a generous layer of sweetened condensed milk, and a scattering of toppings like chocolate chips, coconut, and nuts. In the oven, the condensed milk performs its magic, binding everything into a gooey, caramel-like slice of perfection.
Our version enhances this brilliant formula by introducing the bright, tangy notes of raspberries. The sharpness of the berries provides a beautiful counterpoint to the sweetness of the condensed milk and white chocolate, resulting in a wonderfully balanced flavour. Raspberry and coconut are a match made in heaven, and this bar showcases the pairing beautifully. It is a coconut raspberry dessert that truly has it all.
Why We Know You’ll Adore This Recipe
We are utterly convinced this will soon become one of your most cherished easy bar recipes. Here is exactly why we think you will enjoy making and savouring these Raspberry Coconut Magic Bars just as much as we do:
- Deceptively Simple: There are no complicated steps involved here. This recipe is all about layering. If you can crush biscuits and sprinkle ingredients, you possess all the skills required.
- Quick to Assemble, Big on Flavour: You can have these bars ready for the oven in around 15 minutes. After that, you can sit back while the oven does the rest of the work!
- A Harmony of Tastes: The creamy white chocolate, the sweet, toasted coconut, and the sharp, juicy raspberries come together to create a flavour experience that is simply unforgettable.
- Wonderfully Gooey and Chewy: It’s all thanks to the sweetened condensed milk, which gives these bars their incredibly satisfying, soft, and chewy texture that is impossible to say no to.
- Guaranteed to Be a Hit: We have never shared these without someone immediately asking for the recipe. They are perfect for sharing with loved ones and have a habit of vanishing very quickly.
The Essential Ingredients for Our Magic Bar Recipe
The true charm of this magic bar recipe is rooted in its simplicity. We rely on a few common kitchen staples to produce something genuinely extraordinary. Here is what you will need to get started:
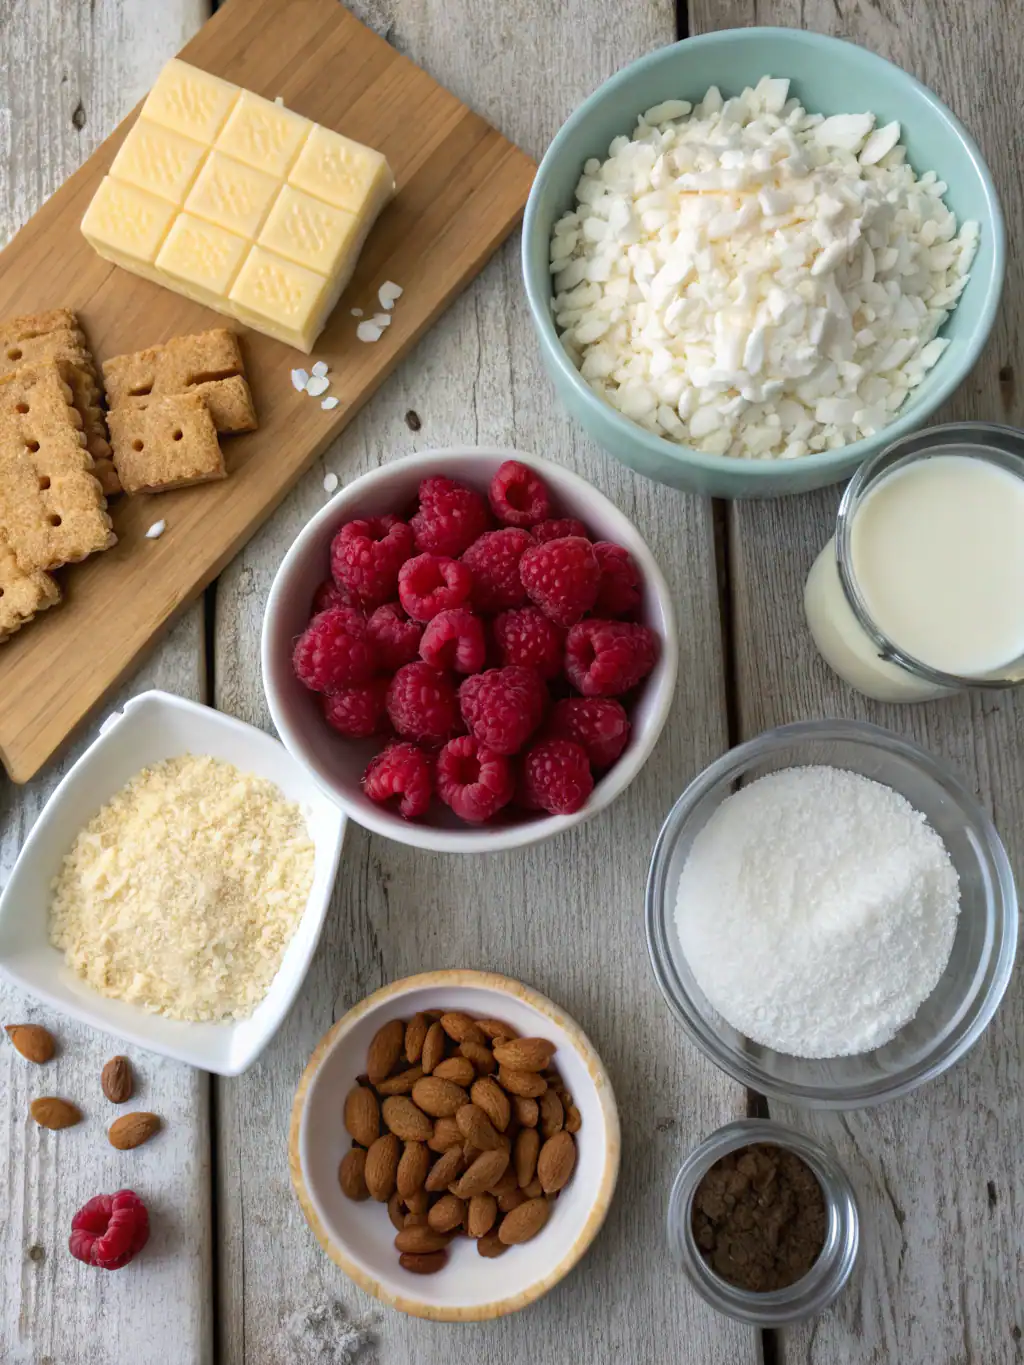
- Digestive Biscuits: These create the classic, crumbly, buttery base. A standard 250g packet will be the perfect amount.
- Unsalted Butter: Melted butter is essential for binding the biscuit crumbs, forming a solid foundation for the delicious layers to come.
- Sweetened Condensed Milk: This is the non-negotiable star of the show! It acts as the sweet, sticky ‘mortar’ that holds the toppings together and caramelises as it bakes, creating that signature gooeyness. Please do not use evaporated milk as a substitute.
- Shredded or Desiccated Coconut: For extra moisture and a richer flavour, we suggest using sweetened shredded coconut, though desiccated coconut also works splendidly. It becomes wonderfully toasted in the oven.
- White Chocolate Chips: The creamy sweetness is an iconic part of white chocolate raspberry bars. The chips melt into delicious little pockets that complement the tart fruit perfectly.
- Raspberries: Fresh or frozen both work brilliantly! The sharp burst of fruit is what makes these bars so memorable. If you’re using frozen berries, there’s no need to thaw them beforehand.
- Flaked Almonds (Optional): For an added layer of texture and a delightful nutty crunch, we often like to sprinkle a handful of flaked almonds over the top.
Step-by-Step Guide to Baking Perfection
Are you ready to make a little magic? Let’s go through the process step by step. It is so straightforward that you will have it committed to memory after your first bake.
- Prepare Your Equipment: To begin, we preheat our oven to 180°C (160°C Fan / Gas Mark 4). Next, we line a 20cm (8-inch) square baking tin with baking parchment, ensuring there is some paper hanging over the sides to use as ‘handles’ for easy removal later on.
- Craft the Biscuit Base: We put the digestive biscuits into a food processor and pulse them until they form fine crumbs. If you don’t have a food processor, simply place them in a resealable bag and crush them with a rolling pin. We then add the melted butter and mix until the crumbs are thoroughly coated and resemble damp sand. We press this mixture down firmly and evenly across the bottom of our prepared tin.
- Pour the Magic Milk: Now for the hero ingredient. We pour the entire can of sweetened condensed milk evenly over the biscuit base, using a spatula to gently guide it to the very edges.
- Layer the Delicious Toppings: This is where the fun really begins! We sprinkle the toppings evenly over the condensed milk layer. We like to start with the coconut, followed by the white chocolate chips. Next, we scatter the raspberries over the surface, pressing them down very lightly. If using, this is the time to sprinkle over the flaked almonds.
- Bake to Golden-Brown Glory: We slide the tin into the preheated oven and bake for 25–30 minutes. The bars are done when the edges are a lovely golden brown and the centre appears set and is gently bubbling. The coconut on top should be lightly toasted and fragrant.
- The Crucial Cooling Step: This may well be the most challenging part—the wait! We allow the bars to cool completely in the tin at room temperature for a minimum of 2-3 hours. For perfectly firm bars that slice cleanly, we then pop them in the fridge for an additional hour. Please resist the temptation to slice them while warm, or you will end up with a delicious but gooey mess. Once fully cooled, we use the parchment handles to lift the slab out before cutting it into squares.
Our Top Tips for the Perfect Raspberry Coconut Magic Bars
Through making these bars countless times, we’ve learned a few valuable tricks that help ensure flawless results every single time.
Don’t Skimp on the Cooling Time
We really can’t overstate this! The sweetened condensed milk requires ample time to firm up as it cools down. Cutting into the bars prematurely will cause them to fall apart. Patience is your best friend here and the secret to achieving neat, tidy squares.
Fresh vs. Frozen Raspberries
Either option works wonderfully in this recipe. Fresh raspberries provide a slightly more vibrant flavour, but frozen ones are equally delicious and often more practical. If you opt for frozen, just add them directly from the freezer. They may release a bit more liquid, but the bars will still set up perfectly.
Press That Base Firmly
To prevent a crumbly base that disintegrates, ensure you press the biscuit and butter mixture down very firmly into the tin. We find using the flat bottom of a glass or a metal measuring cup helps to create a really compact and even layer.
Creative Variations and Customisations
Although we believe our raspberry and white chocolate combination is sheer perfection, these bars are fantastically adaptable. Don’t hesitate to experiment and put your own spin on them! Here are a few suggestions:
- Triple Chocolate Threat: For an even richer experience, replace the white chocolate chips with a mixture of milk, dark, and white chocolate.
- Go Nuts: If you’re not keen on almonds, try adding chopped pecans, walnuts, or even macadamia nuts for a different type of satisfying crunch.
- Switch Up the Fruit: Blueberries, chopped strawberries, or even tangy dried cranberries would all make for delicious alternatives to raspberries. The notion of transforming them into raspberry crumble bars with an oaty topping is also incredibly appealing.
- A Different Biscuit Base: For a twist on the flavour profile, why not try using shortbread, Biscoff biscuits, or even ginger nuts for your base?
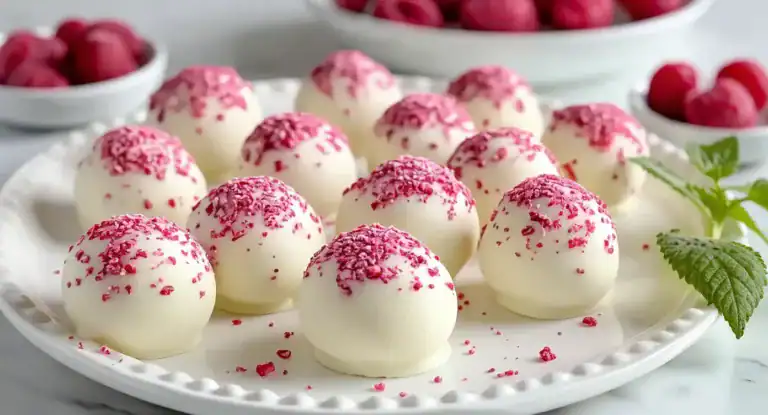
If, like us, you adore the classic pairing of white chocolate and raspberry, you simply have to try our incredible White Chocolate Raspberry Truffles Recipe. And for those who believe fruit makes every bake better, our rich and fudgy Raspberry Brownies are another guaranteed winner.
How to Store Your Raspberry Coconut Magic Bars
On the off chance you have any left over, storing them correctly is crucial for maintaining their freshness. We find they keep best when stored in an airtight container. At room temperature, they will stay fresh for up to 3 days, or you can keep them in the fridge for up to a week. We personally love the texture of these bars straight from the fridge—they become even more dense and chewy!
These bars also freeze exceptionally well. Simply slice them into individual portions, wrap each one securely in cling film, and then place them in a freezer-safe bag. They will keep for up to 3 months. To enjoy, just let them thaw at room temperature for an hour or so.
Frequently Asked Questions (FAQ)
Why are they called magic bars?
They earned their enchanting name from the way the sweetened condensed milk seemingly magically transforms during baking. It works its way through all the toppings, binding them into a cohesive layer with a soft, caramel-like texture, all without any need for stirring. It’s a true one-tin marvel!
Can I use a different type of biscuit for the base?
Of course! While Digestives are the traditional choice, almost any dry, crumbly biscuit will work a treat. Shortbread, Rich Tea biscuits, or even chocolate biscuits would all make for a delicious foundation. Have fun experimenting to find your perfect match!
My bars were too gooey and didn’t hold their shape. What went wrong?
This is the most frequent query, and the cause is nearly always one of two things: the bars were either slightly under-baked, or they were not allowed to cool completely before being sliced. Ensure the centre is properly set and the edges are a deep golden brown. Then, be patient and give them the full cooling time we suggest—it truly makes all the difference.
Can I make this coconut raspberry dessert gluten-free?
Yes, and it’s very simple to do! Just swap the Digestive biscuits for your preferred brand of gluten-free biscuits. Double-check that all other ingredients, such as the chocolate chips, are certified gluten-free, and you’re all set.
What’s the difference between sweetened condensed milk and evaporated milk?
This is an absolutely vital distinction to make. Sweetened condensed milk is milk that has had water removed and a significant amount of sugar added, making it thick, sweet, and ideal for caramelising. Evaporated milk, on the other hand, is unsweetened. The two are not interchangeable in this recipe; you must use sweetened condensed milk for the magic to happen.
Time to Make Some Magic!
And there we have it—your complete guide to creating the most sensational Raspberry Coconut Magic Bars. They are the perfect illustration of how simple, everyday ingredients can unite to form something utterly spectacular. With their buttery base, gooey middle, and glorious topping of toasted coconut, creamy chocolate, and tart raspberries, these bars are a sure-fire success for any occasion.
So, what are you waiting for? It’s time to get into the kitchen and bake a batch of these tempting treats. We are certain they will add a little bit of delicious magic to your day. When you do bake them, we would love to hear how they turned out! Feel free to leave a comment below or tag us in your pictures on social media—we always delight in seeing your wonderful creations!