Stuffed Cookies Recipe | Sweet Treat
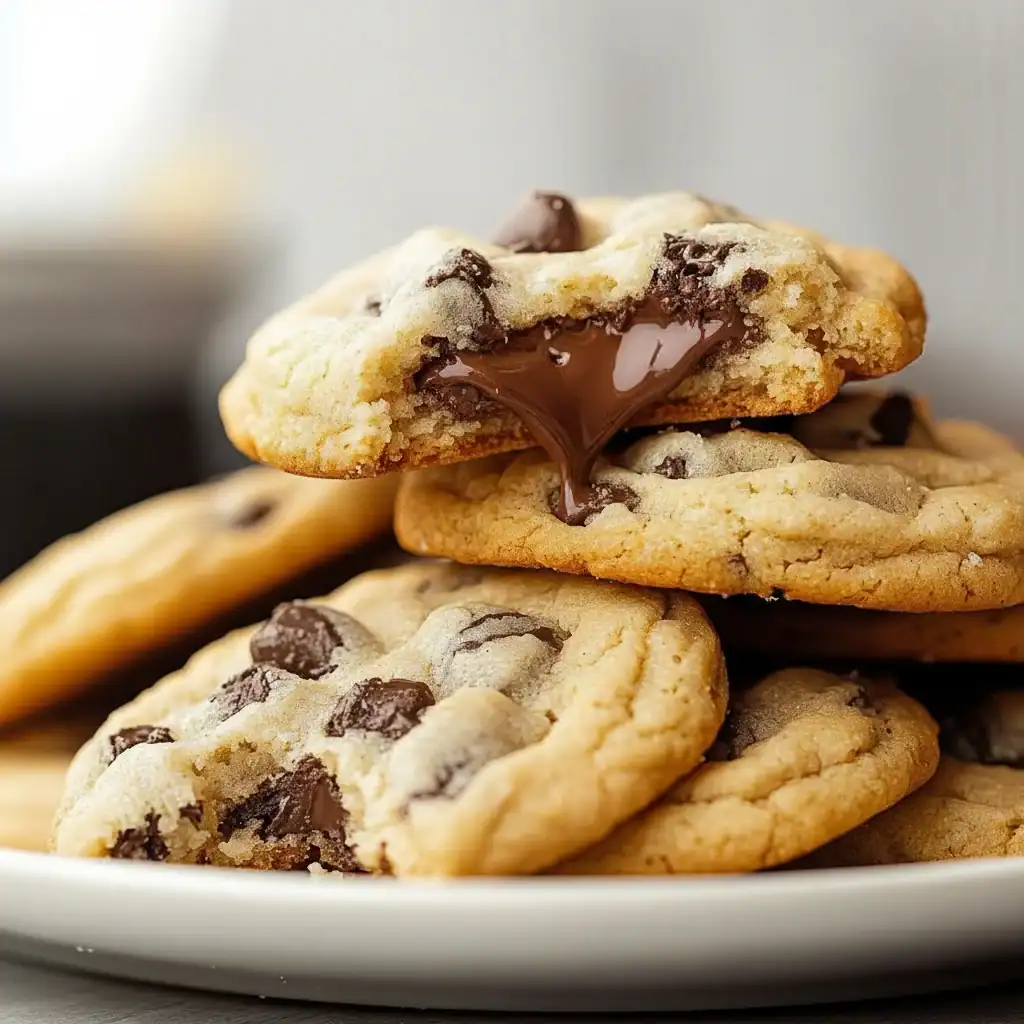
There’s something truly magical about a warm, freshly baked cookie. That initial snap of the crisp edge, followed by the soft, chewy centre, is a moment of pure bliss. For years, I thought the classic chocolate chip cookie couldn’t be improved upon. But then I discovered the world of stuffed cookies, and everything changed. This stuffed cookies recipe takes that simple joy and elevates it into something utterly decadent and memorable. We’re talking about a perfectly soft vanilla and brown sugar cookie dough wrapped around a molten, gooey heart of Biscoff spread. My kids absolutely devour these every time I make them.
The secret is all in the contrast. The cookie itself is rich with buttery notes and a hint of caramel from the brown sugar, while the centre provides a burst of warm, spiced deliciousness that melts in your mouth. This isn’t just a cookie; it’s an experience. It’s the kind of treat that works beautifully for a cosy afternoon with a cup of tea, or as a show-stopping dessert to share with friends. Once you try this stuffed cookies recipe, you’ll find yourself looking for any excuse to bake a batch.
Recipe Overview
This recipe will guide you through creating twelve large, bakery-style cookies with a soft, chewy texture and a surprise molten Biscoff centre. The dough is a classic brown sugar and vanilla base that complements the spiced filling perfectly. From my testing, the most critical step is to freeze the Biscoff filling and chill the cookie dough thoroughly; this prevents the filling from leaking and ensures a beautifully shaped cookie.
- Prep Time: 25 minutes
- Chilling Time: 1 hour 30 minutes
- Cook Time: 14 minutes
- Total Time: 2 hours 9 minutes
- Servings: 12 large cookies
- Difficulty: Medium
Why You’ll Love This Stuffed Cookies Recipe
- Incredible Flavour and Texture: The cookie has delightfully crisp edges that give way to a soft, chewy interior. The buttery, caramel-like flavour of the dough is the perfect vessel for the warm, spiced Biscoff spread that becomes gloriously molten when baked.
- Straightforward to Make: While there are a few extra steps compared to a standard cookie, the process is very manageable. The active preparation and baking time comes together in about 40 minutes, with most of the time spent chilling.
- A Versatile Treat: The real fun begins with the filling! While this recipe uses Biscoff, you can easily swap it for Nutella, a thick caramel sauce, peanut butter, or even one of my favourite Peanut Butter Truffles tucked inside.
- Great for Sharing: These cookies are ideal when you want to bring something special to a gathering. They look impressive and always get compliments when I take them to school bake sales or family get-togethers.
- Family Tested and Approved: I make these at least once a month – they’ve become a family favourite. They disappear from the cooling rack almost as soon as they’re baked! They are right up there with our beloved Biscoff Truffles.

Ingredients You’ll Need
For the best results, use good quality ingredients, especially the butter. I find that a good block butter, like Lurpak, gives a much richer flavour than baking spreads. Make sure your eggs are at room temperature as this helps them incorporate into the butter and sugar mixture more smoothly.
- For the Biscoff Filling:
- 150g Biscoff spread (smooth)
- For the Cookie Dough:
- 170g unsalted butter, softened to room temperature
- 100g caster sugar
- 150g soft light brown sugar
- 1 large free-range egg, room temperature
- 1 tsp vanilla extract
- 280g plain flour
- 1/2 tsp bicarbonate of soda
- 1/2 tsp baking powder
- 1/2 tsp salt
- 100g milk or dark chocolate chips (optional)
Sophia’s Tip: Don’t be tempted to skip freezing the Biscoff spread. Dropping spoonfuls onto parchment paper and freezing them for at least an hour makes them solid, which is essential for enclosing them in the dough without a sticky mess.
How to Make Stuffed Cookies
The process involves three main stages: preparing the filling, making the dough, and finally, assembling and baking. Following the chilling times is the key to getting that perfect texture and preventing the cookies from spreading too much in the oven.
- Prepare the Filling: Line a small baking tray or plate with parchment paper. Drop 12 teaspoon-sized dollops of Biscoff spread onto the paper, spacing them out. Place the tray in the freezer for at least 1 hour, or until the dollops are completely solid.
- Cream Butter and Sugars: In a large bowl or the bowl of a stand mixer, beat the softened unsalted butter, caster sugar, and soft light brown sugar together on medium speed for about 3-4 minutes, until the mixture is light, pale, and fluffy.
- Add Wet Ingredients: Add the room temperature egg and vanilla extract to the butter mixture. Beat again for another minute until everything is well combined. Scrape down the sides of the bowl to ensure it’s all incorporated.
- Combine Dry Ingredients: In a separate bowl, whisk together the plain flour, bicarbonate of soda, baking powder, and salt. This ensures the raising agents are evenly distributed.
- Make the Dough: Add the dry ingredients to the wet ingredients in two batches, mixing on a low speed until just combined. Be careful not to over-mix. If you’re using chocolate chips, fold them in now with a spatula.
- Chill the Dough: Cover the bowl with cling film and place it in the refrigerator to chill for at least 30 minutes. This makes the dough less sticky and easier to handle when stuffing.
- Assemble the Cookies: Once chilled, take the dough out of the fridge and the Biscoff dollops out of the freezer. I find that using a medium ice cream scoop helps to portion the dough evenly. Scoop out about 2 tablespoons of dough, flatten it into a disc in your palm, place one frozen Biscoff dollop in the centre, and carefully wrap the dough around it, rolling it into a smooth ball. Ensure the filling is completely sealed inside.
- Final Chill & Preheat: Place the stuffed cookie dough balls onto a parchment-lined baking tray, spacing them well apart (I usually fit 6 per tray). Put the tray back in the fridge for another 30 minutes. While they chill, preheat your oven to 180°C (160°C fan).
- Bake to Perfection: Bake the chilled cookie balls for 12-14 minutes. They are ready when the edges are a light golden brown and the centres look slightly underdone. Don’t overbake them if you want a soft, gooey centre.
- Cool Down: Let the cookies cool on the baking tray for 10 minutes before transferring them to a wire rack to cool completely. This allows them to set properly. The centre will be incredibly molten when warm!
Tips From My Kitchen
- Temperature Control is Everything: The double-chilling process is non-negotiable for this stuffed cookies recipe. Chilling the dough prevents excessive spreading, and freezing the filling ensures it doesn’t melt and leak out before the cookie has had a chance to bake around it.
- The Secret to a Crinkly Top: For those beautiful crinkly tops you see in bakeries, I learned a great trick. About 10 minutes into baking, carefully take the baking tray out of the oven and gently tap it on your work surface a couple of times. This causes the risen centres to collapse slightly, creating lovely ripples. You can read more about the science behind this pan-banging technique here.
- Make-Ahead Magic: You can prepare the stuffed, unbaked cookie dough balls and freeze them. Place them on a tray in the freezer until solid, then transfer them to a freezer bag. You can bake them straight from frozen; just add 2-3 extra minutes to the baking time.
- Storage: Once cooled, these cookies can be stored in an airtight container at room temperature for up to 4 days. If you want to relive that fresh-from-the-oven experience, you can warm one in the microwave for 10-15 seconds.
Equipment You’ll Need
You don’t need any highly specialised equipment for this recipe, just some standard baking kit.
- Stand mixer or electric hand mixer
- Large baking trays
- Parchment paper
- Wire cooling rack
What to Serve With Stuffed Cookies
These cookies are a magnificent treat all on their own, but if you want to turn them into a full-blown dessert, here are a few ideas:
- A Glass of Cold Milk: The classic and unbeatable pairing. The cold milk cuts through the richness of the buttery cookie and sweet Biscoff perfectly.
- Vanilla Bean Ice Cream: A scoop of simple, high-quality vanilla ice cream next to a warm stuffed cookie creates a wonderful contrast of hot and cold temperatures.
- A Hot Drink: A strong cup of coffee or a milky tea works beautifully to balance the sweetness, making it a sophisticated afternoon treat.
If you’re looking for another dessert to serve alongside these, my Peach Crumb Cheesecake offers a fruity, creamy contrast.
Frequently Asked Questions
Stuffed Cookies Recipe
Ingredients
Method
- Prepare the Filling: Line a small baking tray or plate with parchment paper. Drop 12 teaspoon-sized dollops of Biscoff spread onto the paper, spacing them out. Place the tray in the freezer for at least 1 hour, or until the dollops are completely solid.
- Cream Butter and Sugars: In a large bowl or the bowl of a stand mixer, beat the softened unsalted butter, caster sugar, and soft light brown sugar together on medium speed for about 3-4 minutes, until the mixture is light, pale, and fluffy.
- Add Wet Ingredients: Add the room temperature egg and vanilla extract to the butter mixture. Beat again for another minute until everything is well combined. Scrape down the sides of the bowl to ensure it's all incorporated.
- Combine Dry Ingredients: In a separate bowl, whisk together the plain flour, bicarbonate of soda, baking powder, and salt. This ensures the raising agents are evenly distributed.
- Make the Dough: Add the dry ingredients to the wet ingredients in two batches, mixing on a low speed until just combined. Be careful not to over-mix. If you're using chocolate chips, fold them in now with a spatula.
- Chill the Dough: Cover the bowl with cling film and place it in the refrigerator to chill for at least 30 minutes. This makes the dough less sticky and easier to handle when stuffing.
- Assemble the Cookies: Once chilled, take the dough out of the fridge and the Biscoff dollops out of the freezer. I find that using a medium ice cream scoop helps to portion the dough evenly. Scoop out about 2 tablespoons of dough, flatten it into a disc in your palm, place one frozen Biscoff dollop in the centre, and carefully wrap the dough around it, rolling it into a smooth ball. Ensure the filling is completely sealed inside.
- Final Chill & Preheat: Place the stuffed cookie dough balls onto a parchment-lined baking tray, spacing them well apart (I usually fit 6 per tray). Put the tray back in the fridge for another 30 minutes. While they chill, preheat your oven to 180°C (160°C fan).
- Bake to Perfection: Bake the chilled cookie balls for 12-14 minutes. They are ready when the edges are a light golden brown and the centres look slightly underdone. Don't overbake them if you want a soft, gooey centre.
- Cool Down: Let the cookies cool on the baking tray for 10 minutes before transferring them to a wire rack to cool completely. This allows them to set properly. The centre will be incredibly molten when warm!
Notes
I really hope you enjoy making this stuffed cookies recipe as much as my family and I enjoy eating them. There’s nothing quite like breaking one open to reveal that incredible molten centre. Give them a go for your next baking session, and please let me know how you get on in the comments below. Happy baking! – Sophia