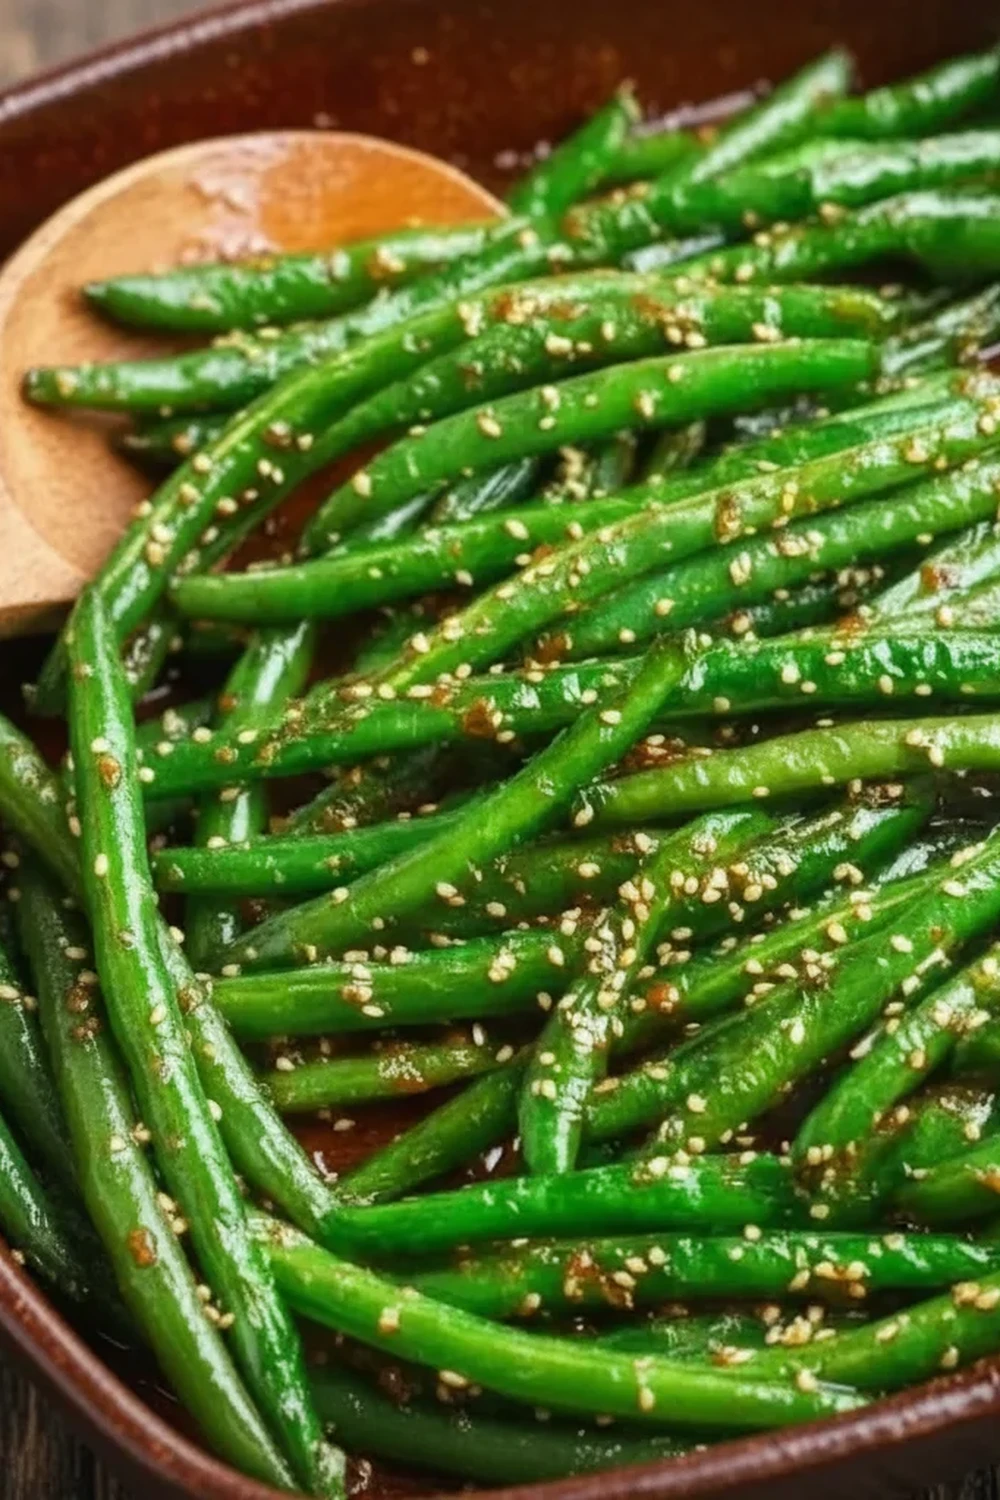
Umami Rich Miso Green Beans
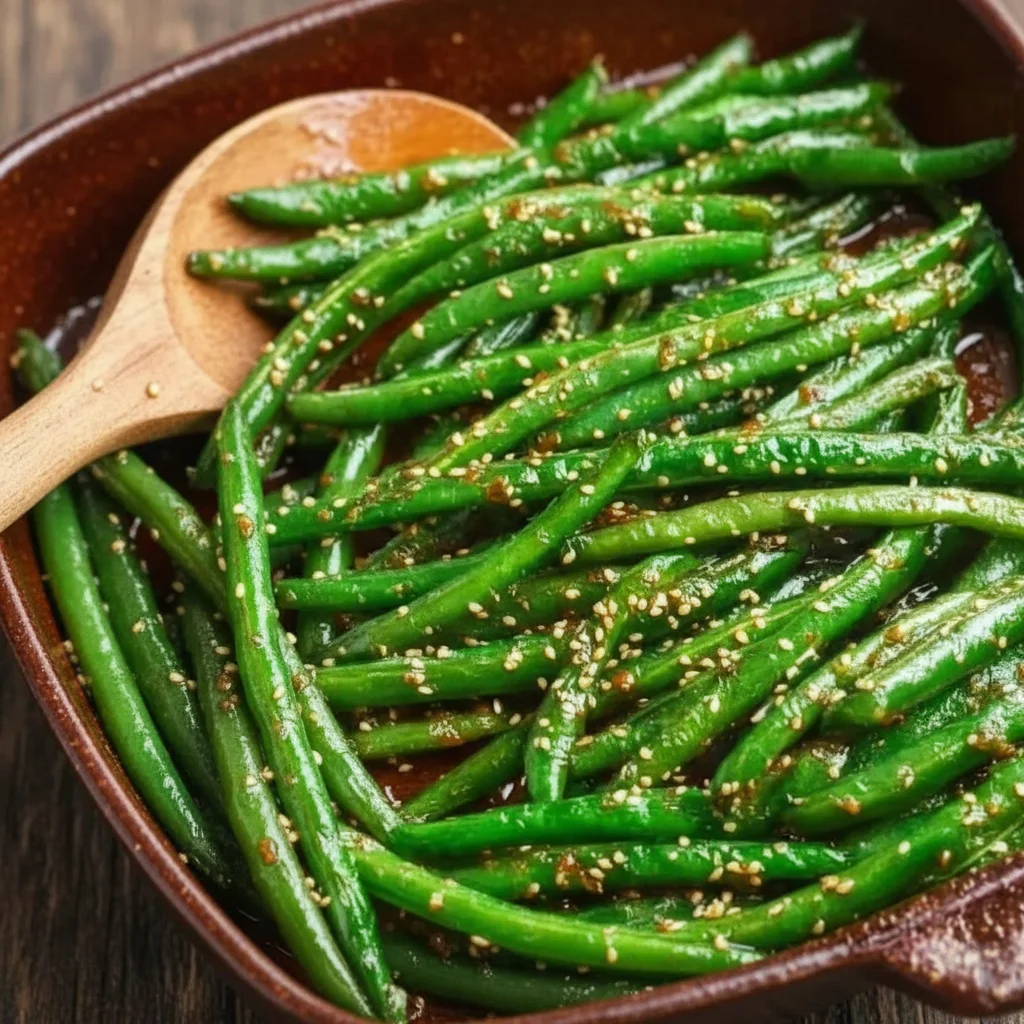
There are some side dishes that simply do their job, and then there are those that threaten to steal the show entirely. These Miso Green Beans fall firmly into the latter category. For years, I treated green beans as a bit of an afterthought—a quick steam, a knob of butter, a sprinkle of salt. It was fine, but never exciting. That all changed when I started experimenting with the magic of miso paste. This recipe transforms the humble green bean into something utterly compelling: tender-crisp, slightly charred, and coated in a deeply savoury, glossy glaze that hits every note.
The secret is a two-part cooking process that ensures the beans get beautifully blistered before being enveloped in the sauce. This isn’t just about flavour; it’s about texture. You get that satisfying snap of a perfectly cooked bean, the salty depth from the miso and soy, a whisper of sweetness from maple syrup, and a nutty crunch from toasted sesame seeds. It’s a combination that works so well together. Friends always ask me for this recipe after trying it at dinner parties, and I’m always so delighted to share it. It has become my go-to side for everything from a simple midweek supper to a more elaborate weekend meal.
Whether you’re looking to liven up your vegetable repertoire or need a reliable dish that always gets compliments, these Umami Beans are the answer. They’re a testament to how a few quality ingredients and a clever technique can create something truly special. This is the kind of dish that will make you look at green beans in a whole new light.
Recipe Overview
This recipe delivers vibrant, tender-crisp green beans with charred spots, all coated in an irresistible, glossy miso glaze. The flavour is a beautiful balance of savoury, salty umami from the miso paste and a hint of sweetness that caramelises in the pan. After testing this recipe five times, I finally got it just right—the key is to get a good char on the beans *before* adding the sauce to prevent it from burning.
- Prep Time: 10 minutes
- Cook Time: 15 minutes
- Total Time: 25 minutes
- Servings: 4 people (as a side dish)
- Difficulty: Easy
Why You’ll Love This Miso Green Beans
- Genuine Flavour: The white miso paste provides a deep, savoury foundation that’s both salty and slightly sweet. This is balanced by the sharpness of rice vinegar and the gentle sweetness of maple syrup, creating a glaze that’s complex and incredibly moreish.
- Ready in Under 30 Minutes: From start to finish, this impressive side dish comes together in about 25 minutes, making it ideal for busy weeknights when you want something flavourful without spending hours in the kitchen.
- Flexible Recipe: This recipe is a wonderful template. You can easily add a clove of finely minced garlic or a teaspoon of grated fresh ginger to the sauce for extra aromatic warmth.
- Great for Various Occasions: This dish works beautifully alongside grilled salmon, roast chicken, or even as part of an Asian-inspired spread with dishes like my Bang Bang Chicken Thighs. It’s versatile enough for any meal.
- Family Tested: My whole family adores this recipe, but the biggest testament is my youngest son, who used to push green beans around his plate. Now, he’s the first to ask for a second helping of these “sticky beans,” as he calls them.
Ingredients You’ll Need
For the most authentic and balanced flavour, I recommend using a good quality white (shiro) miso paste. I often use Clearspring Organic Brown Rice Miso Paste, as it has a lovely mild and slightly sweet character that doesn’t overpower the fresh beans. The other ingredients are likely already in your pantry.
- 450g fresh green beans, trimmed
- 1 tbsp toasted sesame oil
- 1 tbsp vegetable or rapeseed oil
- 2 tbsp white miso paste
- 1 tbsp maple syrup
- 1 tbsp soy sauce (or tamari for a gluten-free option)
- 1 tbsp rice vinegar
- 1 clove garlic, finely minced (optional)
- 1 tsp fresh ginger, grated (optional)
- 1 tbsp toasted sesame seeds, for garnish
- 1 spring onion, finely sliced, for garnish
Sophia’s Tip: Don’t skip the step of patting the beans thoroughly dry after washing. Excess water will create steam in the pan, which prevents the beans from blistering and developing that lovely charred flavour we’re aiming for.
How to Make Miso Green Beans
The process is straightforward. We’ll start by preparing our umami-rich sauce, then focus on cooking the beans perfectly before combining everything in the final moments. This method ensures the beans are crisp and the sauce glazes them without burning.
- Prepare the Miso Glaze: In a small bowl, whisk together the white miso paste, maple syrup, soy sauce, and rice vinegar until smooth. If you’re using them, stir in the minced garlic and grated ginger. Set the sauce aside for later.
- Wash and Dry the Beans: Rinse your trimmed green beans under cold water. This next step is crucial: pat them completely dry with a clean tea towel or paper towels. Any moisture on the surface will prevent them from charring properly.
- Heat the Pan: Place a large frying pan or skillet over a medium-high heat. Add both the toasted sesame oil and the vegetable oil. Let the oils heat up for a minute until they shimmer slightly.
- Blister the Green Beans: Carefully add the dry green beans to the hot pan, spreading them into a single layer. Let them cook undisturbed for 3-4 minutes. You want them to develop dark, blistered spots on one side. Avoid the temptation to stir them too early.
- Continue Cooking: After the initial sear, toss the beans and continue to cook for another 4-5 minutes, stirring occasionally, until they are tender-crisp and charred in places.
- Add the Glaze: Turn the heat down to low. Pour the prepared miso glaze over the green beans in the pan.
- Toss to Coat: Immediately begin tossing the beans continuously to coat them evenly in the sauce. The glaze will thicken very quickly. What works best for me is to keep everything moving constantly for about 60-90 seconds until the sauce is glossy and clings to every bean.
- Serve Immediately: As soon as the beans are coated, remove the pan from the heat. Transfer the Miso Green Beans to a serving platter.
- Garnish and Enjoy: Sprinkle generously with toasted sesame seeds and finely sliced spring onions before serving warm.
Tips From My Kitchen
- Temperature Control: The pan needs to be hot for blistering the beans, but it’s essential to reduce the heat to low *before* adding the sauce. The sugars in the maple syrup and miso can burn very easily over high heat, resulting in a bitter taste.
- The Secret Step: I learned that getting the beans really dry before they hit the hot pan is the key to achieving those perfect, charred blisters instead of just steaming them. A few extra moments with a paper towel makes all the difference in the final texture.
- Make-Ahead: The miso glaze can be whisked together and stored in an airtight container in the fridge for up to 3 days. This makes assembly even faster on a busy evening. However, the beans are definitely best cooked just before serving to maintain their vibrant colour and crisp texture.
- Storage: If you have any leftovers, they can be stored in an airtight container in the refrigerator for up to 2 days. Reheat them gently in a pan or microwave. Note that they will lose their initial crispness but remain very flavourful.
Equipment You’ll Need
- Large frying pan or skillet (a cast-iron one works particularly well)
- Sharp knife and cutting board
- Small mixing bowl and whisk
- Tongs or a wooden spoon
Common Mistakes to Avoid
- Overcrowding the pan: If you add too many beans at once, they will steam instead of blister. This results in softer, less flavourful beans. If your pan isn’t large enough, it’s better to cook the beans in two batches to ensure they all make contact with the hot surface.
- Not Patting the Beans Dry: This is the most common pitfall. Water on the surface of the beans will instantly cool down the pan, create steam, and prevent that beautiful char from forming. It also causes the hot oil to splatter dangerously.
- Adding the Sauce Too Early: Don’t be tempted to add the glaze before the beans are cooked through and blistered. The goal is to cook the beans first, then use the residual heat to thicken the sauce and coat them in the final minute of cooking.
Delicious Variations to Try
Once you’ve mastered the basic recipe, feel free to experiment. The miso glaze is wonderfully adaptable and works with a variety of other vegetables.
- Spicy Miso Green Beans: For a gentle kick of heat, add 1/2 teaspoon of gochujang paste or a generous pinch of red chilli flakes into the sauce when you whisk it together.
- Add Some Crunch: For extra texture, sprinkle some chopped roasted peanuts or cashews over the finished dish along with the sesame seeds.
- Try Different Veggies: This glaze is absolutely fantastic on tenderstem broccoli, asparagus spears, or even roasted Brussels sprouts. You will just need to adjust the initial cooking time to suit the vegetable you are using.
What to Serve With Miso Green Beans
These versatile beans pair wonderfully with a wide range of main courses. Their bold umami flavour can stand up to rich meats or complement delicate fish.
- Grilled or Baked Salmon: The salty, savoury notes of the miso glaze are a classic and beautiful pairing for the rich flavour of salmon.
- Simple Steamed Rice: Serve with a bowl of fluffy jasmine or basmati rice to soak up every last drop of the delicious glaze.
- Roast Chicken or Pork: These beans provide a fantastic, flavourful contrast to a traditional roast dinner, cutting through the richness. They are also brilliant alongside our Bacon Brown Sugar Chicken Tenders.
- Drink Pairing: A crisp, dry white wine like a Sauvignon Blanc or a light Japanese lager will cleanse the palate and complement the umami notes perfectly.
Frequently Asked Questions
Miso Green Beans
Ingredients
Method
- Prepare the Miso Glaze: In a small bowl, whisk together the white miso paste, maple syrup, soy sauce, and rice vinegar until smooth. If you're using them, stir in the minced garlic and grated ginger. Set the sauce aside for later.
- Wash and Dry the Beans: Rinse your trimmed green beans under cold water. This next step is crucial: pat them completely dry with a clean tea towel or paper towels. Any moisture on the surface will prevent them from charring properly.
- Heat the Pan: Place a large frying pan or skillet over a medium-high heat. Add both the toasted sesame oil and the vegetable oil. Let the oils heat up for a minute until they shimmer slightly.
- Blister the Green Beans: Carefully add the dry green beans to the hot pan, spreading them into a single layer. Let them cook undisturbed for 3-4 minutes. You want them to develop dark, blistered spots on one side. Avoid the temptation to stir them too early.
- Continue Cooking: After the initial sear, toss the beans and continue to cook for another 4-5 minutes, stirring occasionally, until they are tender-crisp and charred in places.
- Add the Glaze: Turn the heat down to low. Pour the prepared miso glaze over the green beans in the pan.
- Toss to Coat: Immediately begin tossing the beans continuously to coat them evenly in the sauce. The glaze will thicken very quickly. What works best for me is to keep everything moving constantly for about 60-90 seconds until the sauce is glossy and clings to every bean.
- Serve Immediately: As soon as the beans are coated, remove the pan from the heat. Transfer the Miso Green Beans to a serving platter.
- Garnish and Enjoy: Sprinkle generously with toasted sesame seeds and finely sliced spring onions before serving warm.
Notes
I truly hope you give these Miso Green Beans a try. They are such a simple way to bring a huge amount of flavour to your dinner table, and they never fail to impress. It’s a recipe we come back to week after week in my own kitchen. If you do make them, please drop a comment below and let me know what you think. I love hearing how my recipes work out for you!
Happy cooking,
Sophia